Step 2: Detailed Specifications Page of the Feature Flag
This document introduces the contents that can be checked on the detail screen of the feature flag.
Refer to the links below for Feature Flag Determination of each SDK types.Java/Kotlin →
Python →
Node.js →
JavaScript →
React →
React Native →
Android →
iOS →
Unity →
Detail screen of the feature flag
After creating a new feature flag or when you click a specific feature flag in the feature flag list, you can enter the detailed screen of the feature flag.
Configuration of the detail screen
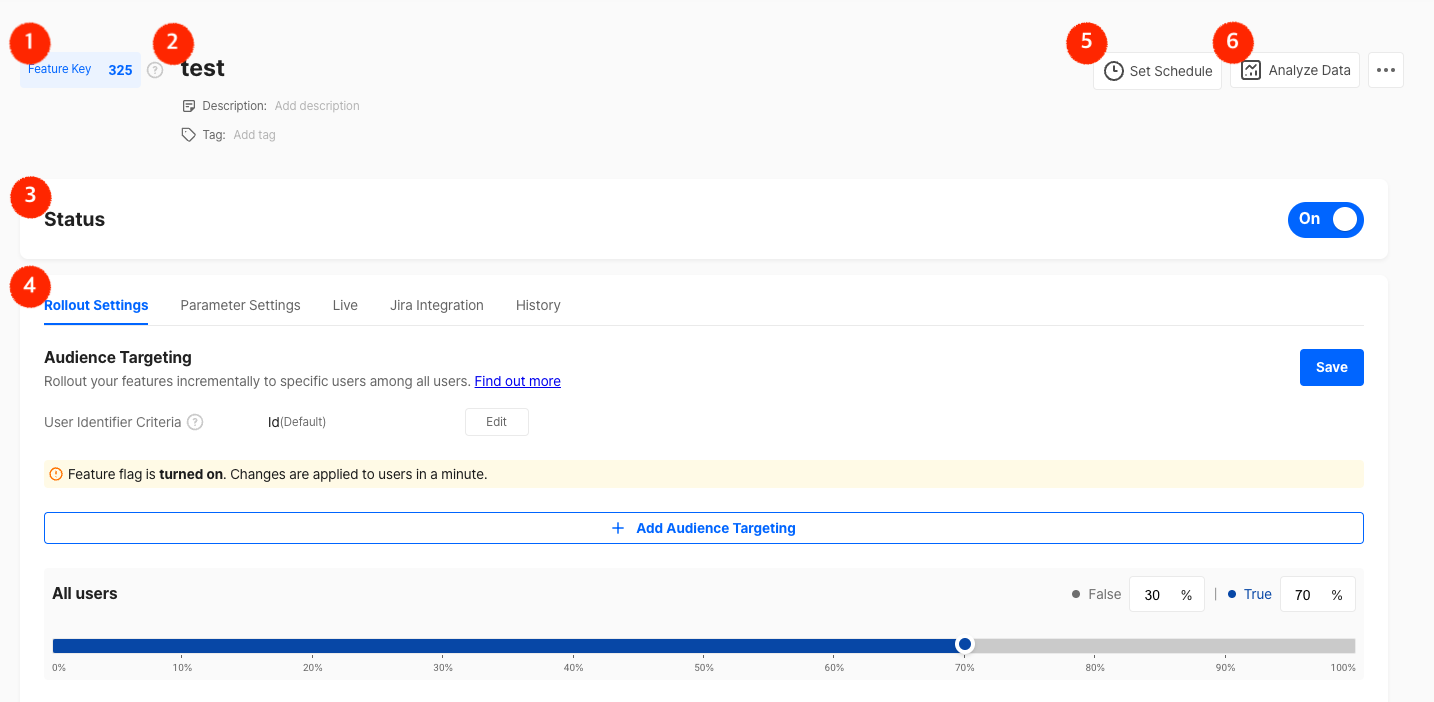
From the feature flag detail screen, you can check the following.
-
Feature keys
When using the feature flag-related method in the SDK, the feature key is required as a parameter. Please pass on the information regarding the key and the What is a SDK? guide to your developer. -
Feature flag information
You checkt name, description, tags of the feature flag. -
Feature flag status
You can switch the feature flag status on and off with the toggle. -
Tab Menu
The detailed menu for feature flags is split into five tabs (Rollout settings, Parameter settings, Live for real-time exposure status, Jira integration, History). -
Set schedule
Through feature flag scheduling, you can preset desired release dates or schedule traffic allocation for configured items in advance. This is particularly useful when you want to launch specific features aligned with promotion start dates and gradually increase traffic. For detailed information, please refer to the feature-flag-scheduling
Rollout Settings
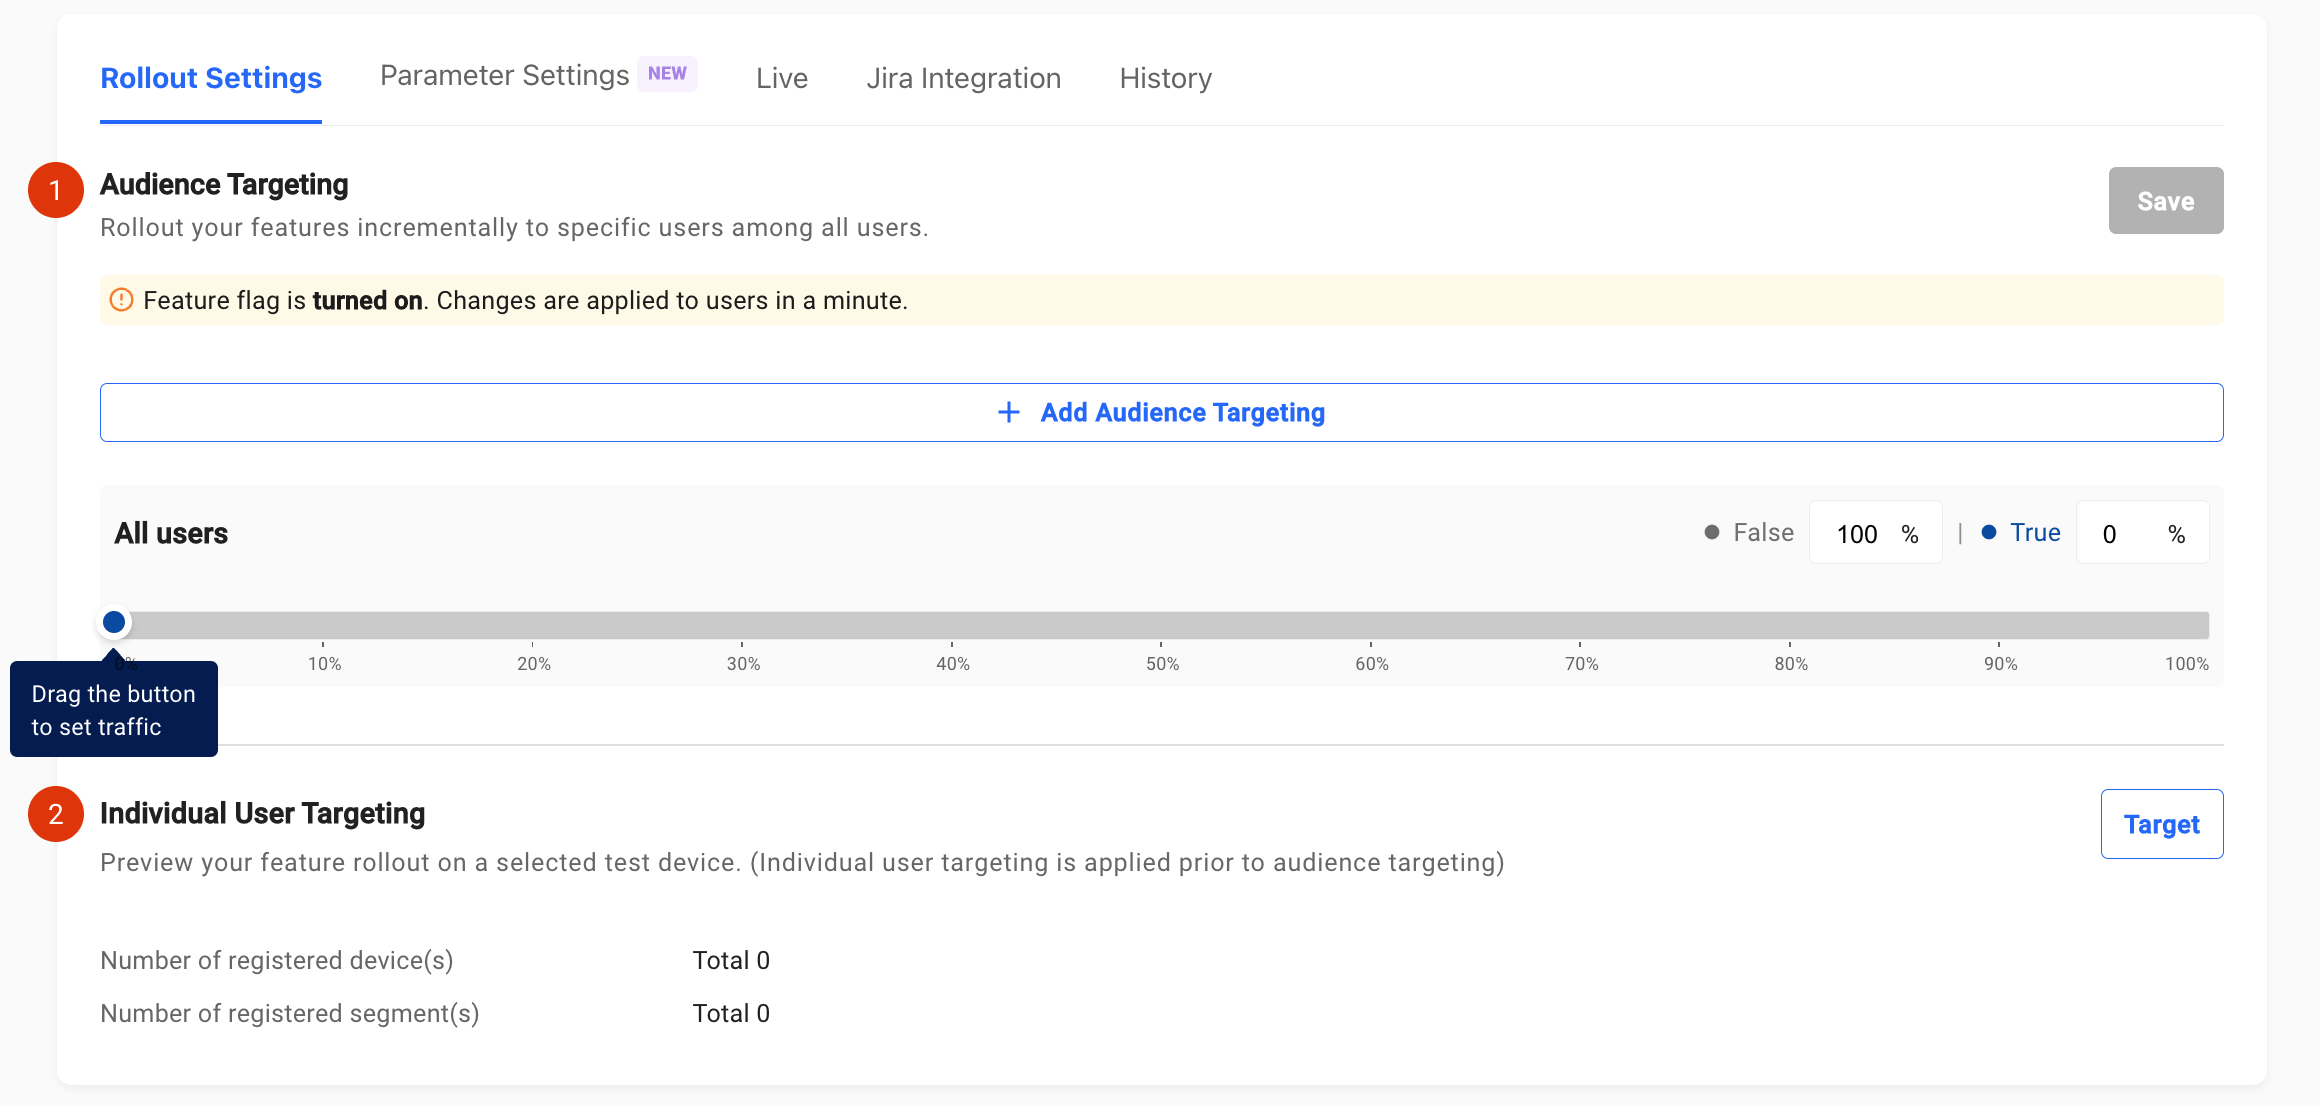
- Audience targeting
This is a function that allows different features to be set on or off for users. Set the percentage of the users to apply.
The traffic allocation percentage is freely adjustable between 0 and 100. You can also set the traffic to 80 and then adjust it down to 50, or set the traffic at 25 originally and adjust it up to 50.
After setting the traffic allocation percentage, make sure to click theSavebutton on the right.
Find out more about it in Audience Targeting.

Audience Targeting

Incremental release
- Individual user targeting
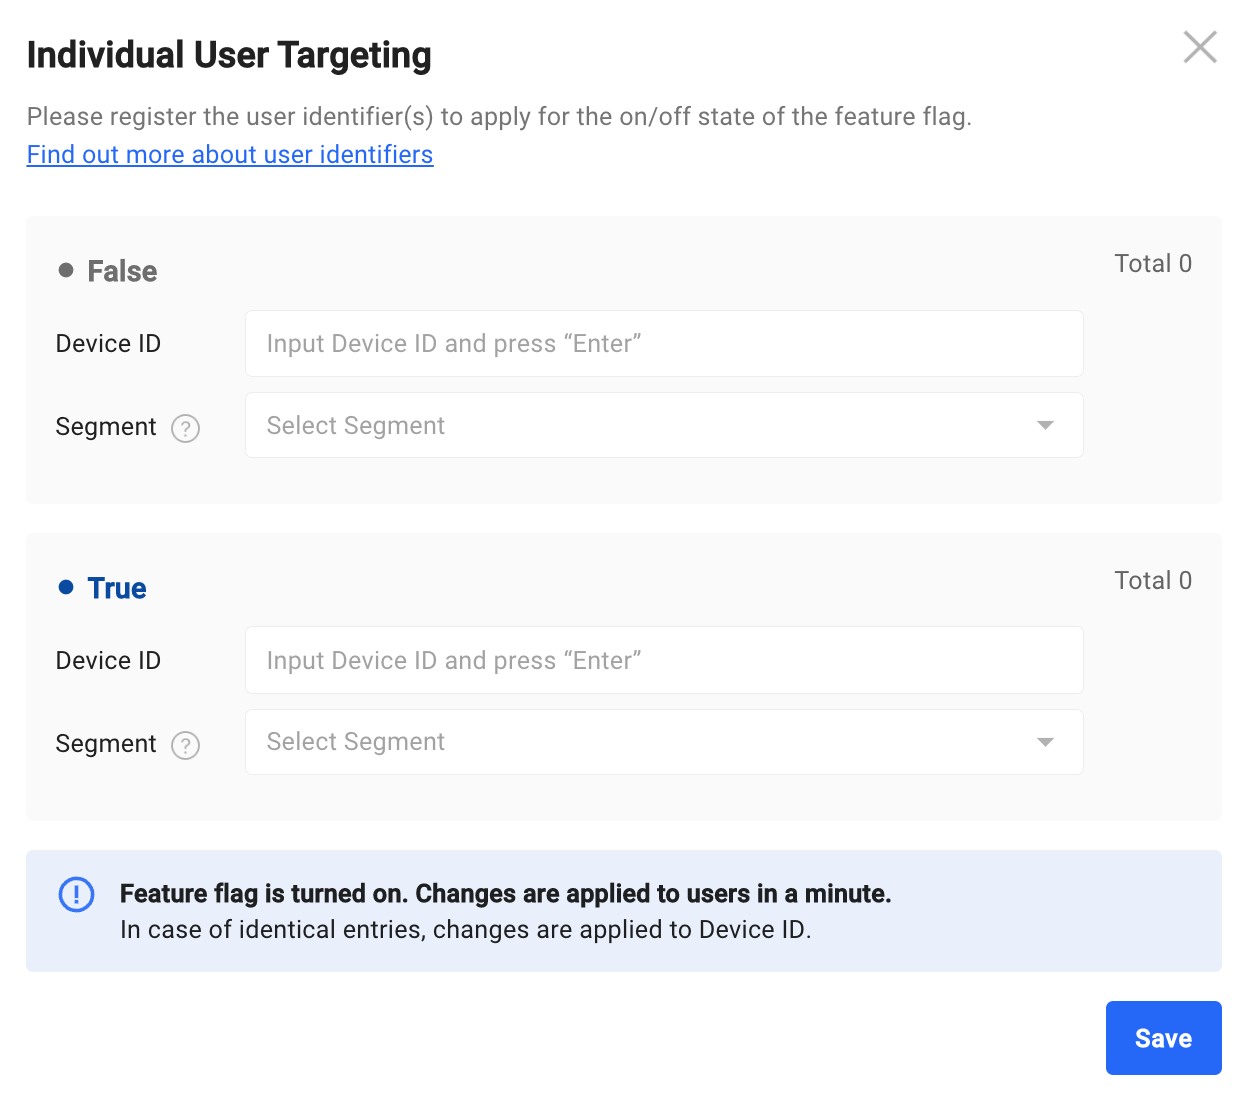
For specific test devices, you can manually set them to be exposed to only the on-state features or only the off-state features. In the case of a registered test device, it will be exposed to the "On" or "Off" state depending on the settings in the individual targeting regardless of the audience targeting and traffic allocation rules that are set.
This feature is useful when you want to test the features out internally.
If you press theTargetbutton on the right, the following dialog box appears where you can set the different test devices.
Parameter Settings
Configure and apply different values to your users rea via parameter settings.
You can add parameter values to be returned to each True and False.
Find out more about it in Parameter Settings

Live Tab
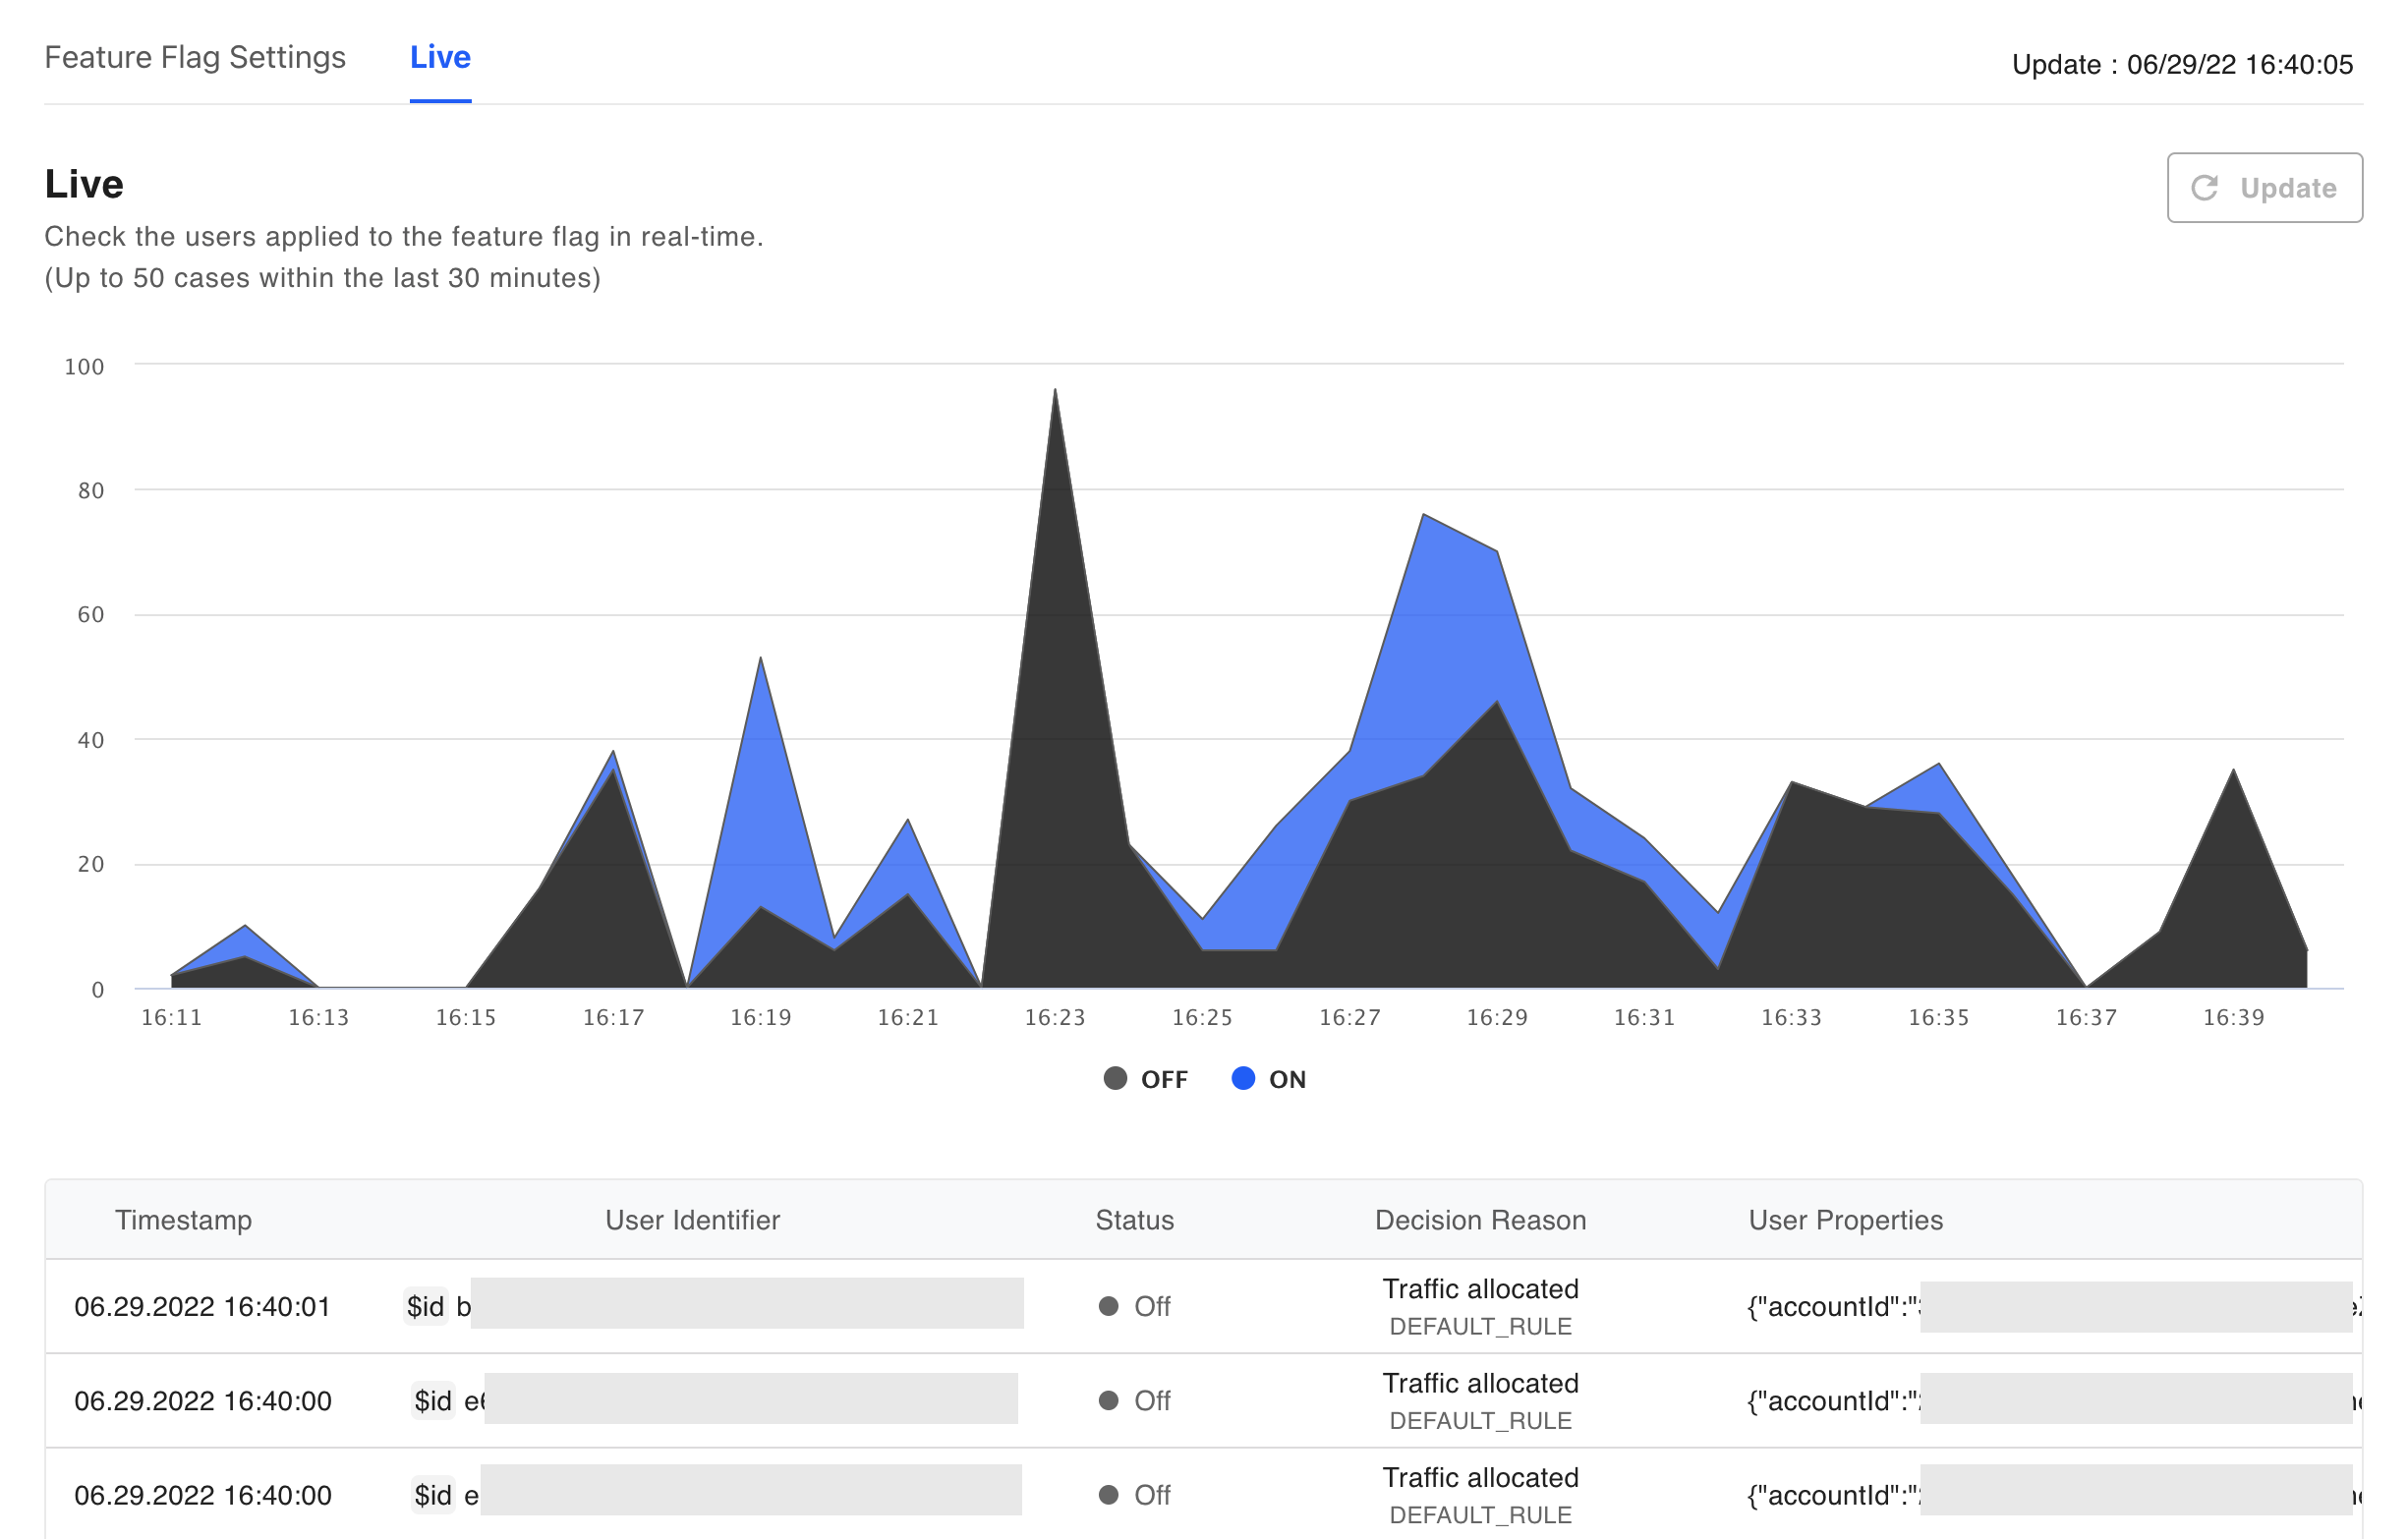
Real-time exposure status
You can view the number of users who have met the on or off status of the feature flag within the last 30 minutes, and information about those users (time, user identifier value, status).
Update button is activated every 30 seconds, so if you want to know the latest status, you can update by pressing the button.
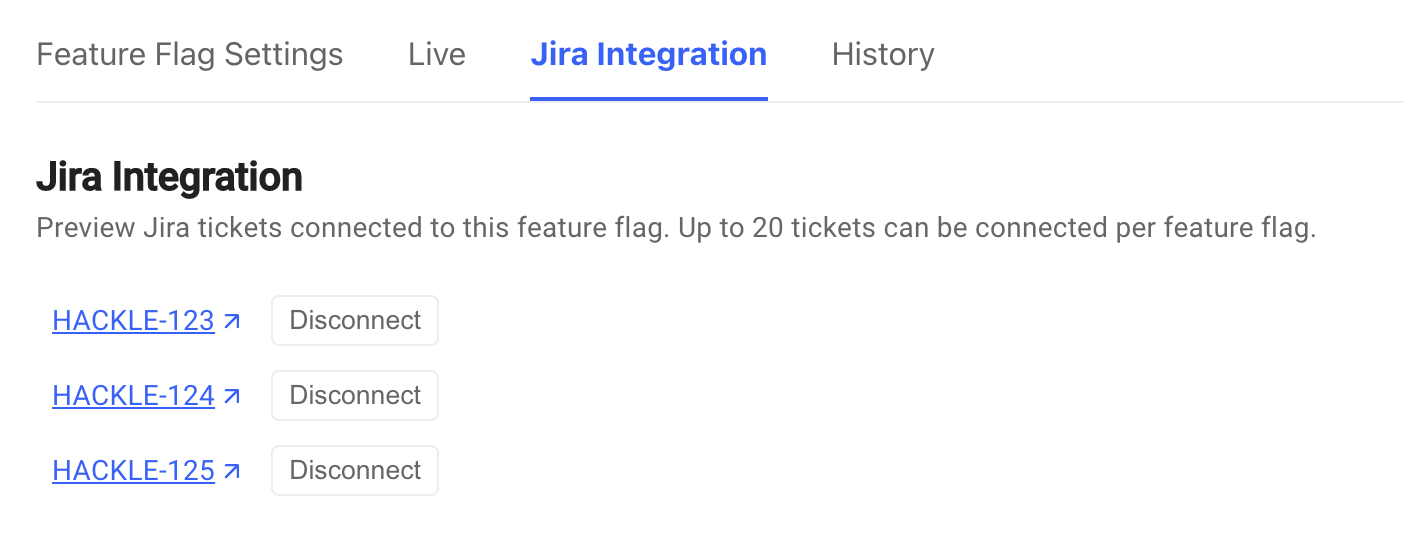
Jira Integration Tab
Integrate Jira and manage your Jira tickets associated with the feature flags within the dashboard.
Click Jira Inegration page for more details.
History Tab
Feature flag changes are logged in chrnonological order.
Preview history of items created and modified by other collaborators.
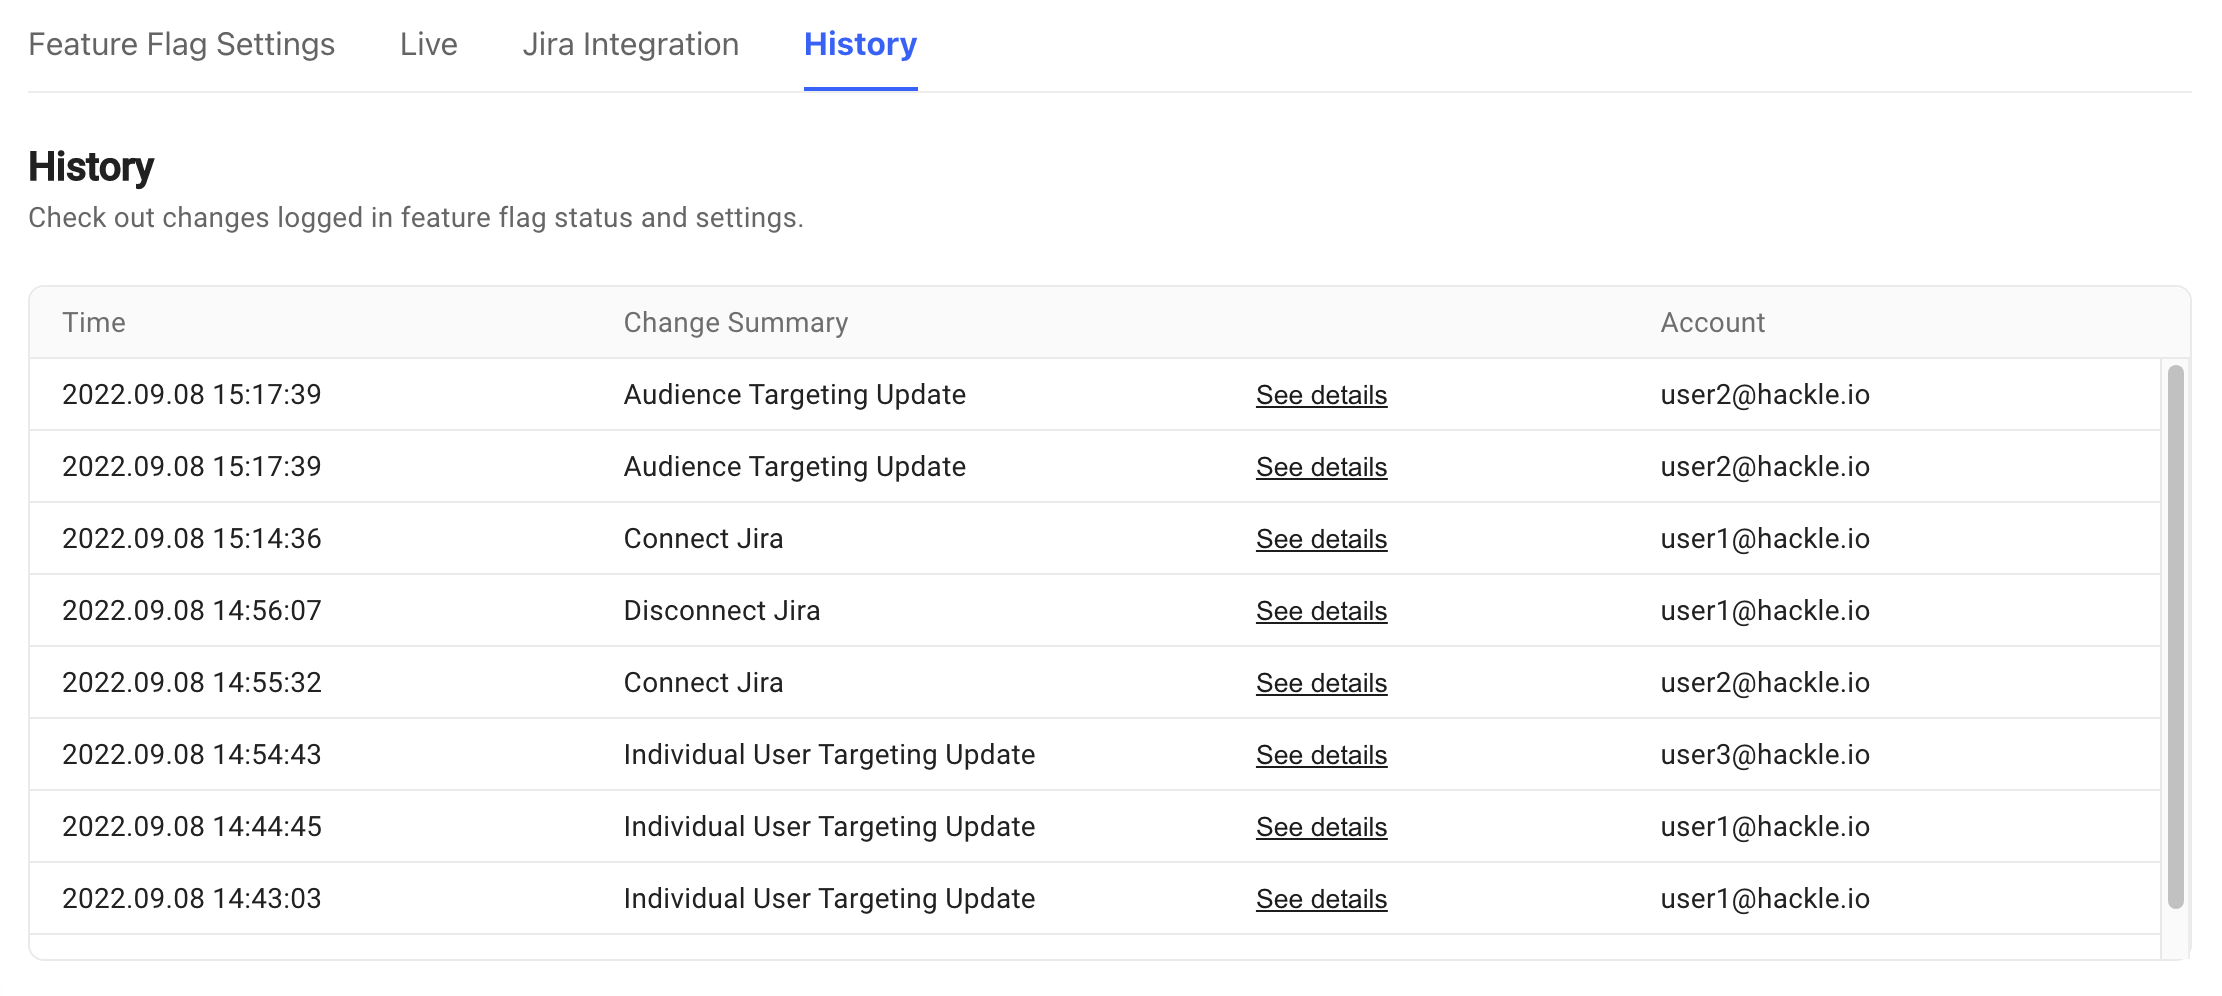
Click See details to check the detailed record of changes made in your feature flag.
Extra add-on features
Click the ・・・ button at the top right of the page for the specific feature flag to check out the extra add-on features.

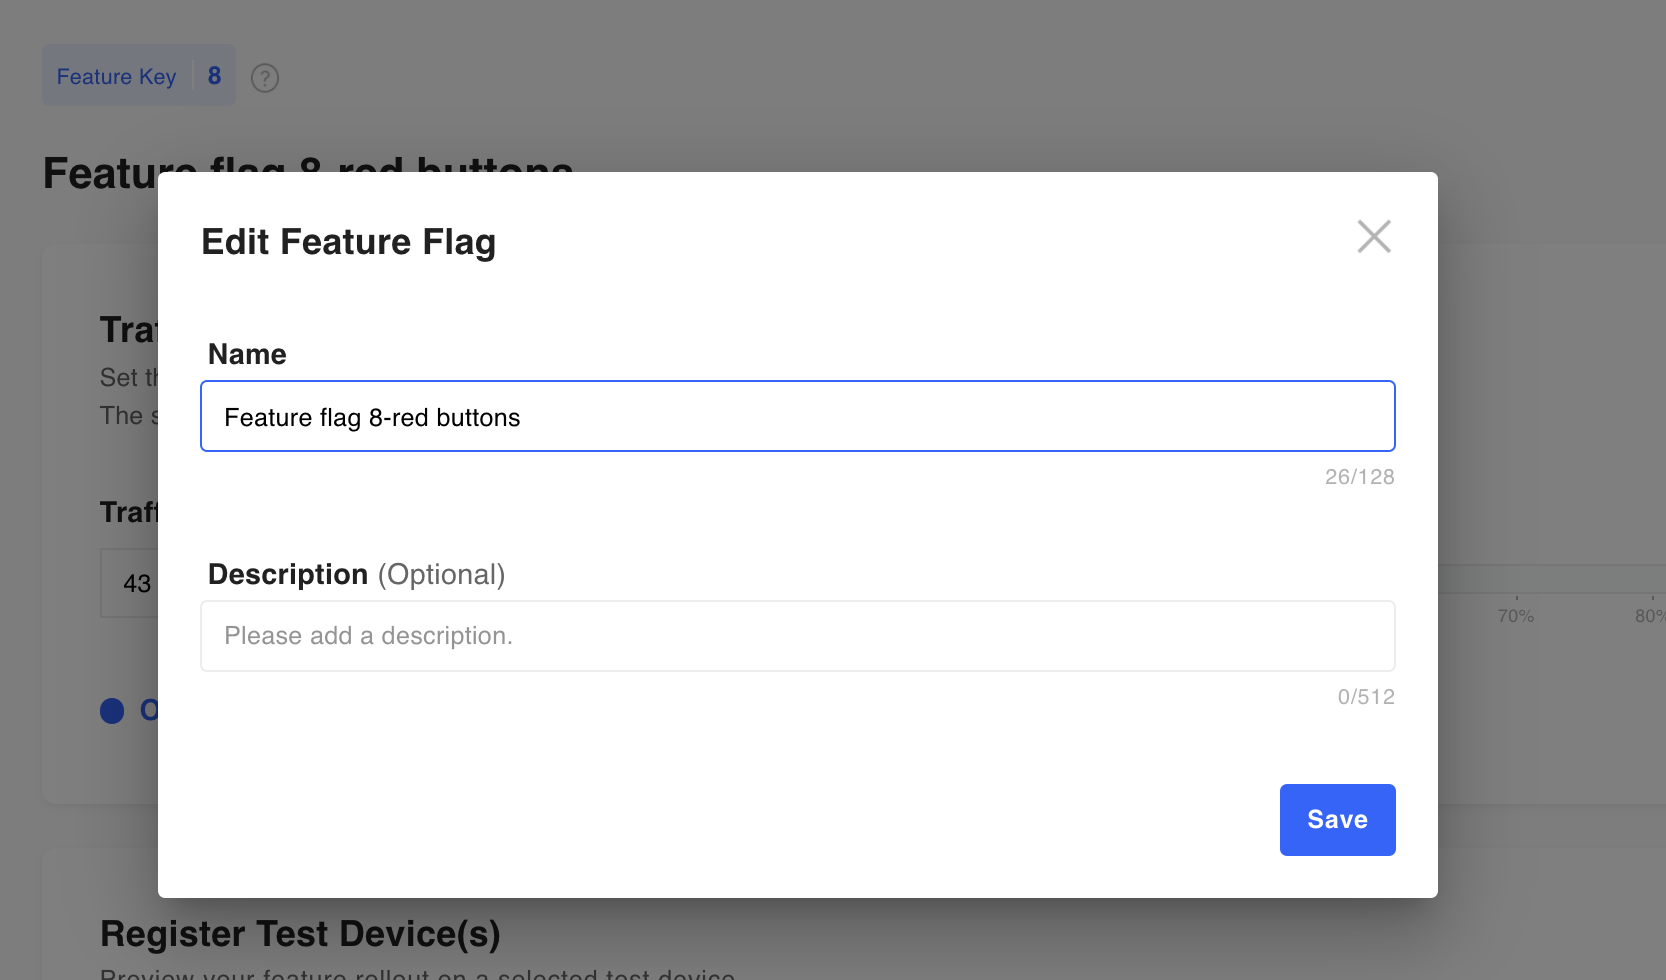
Modify feature flag name
Feature flag names can be freely edited whenever you want. After editing, do not forget that you must click the Save button at the bottom right to be reflected.
Copy existing feature flag
Create a copy or duplicate of the current feature flag.
The duplicated feature flag will appear on the full feature flag list, with (Copy) appended to the name to distinguish it from the original feature flag.
For example, if you create a copy of a feature flag named 'Improve Search Algorithm', the copy will be named 'Improve Search Algorithm (Copy)'.
Archive feature flag
If you no longer need a particular feature flag, you can archive that feature flag.
However, please note that once the feature flags are archived cannot be reused.
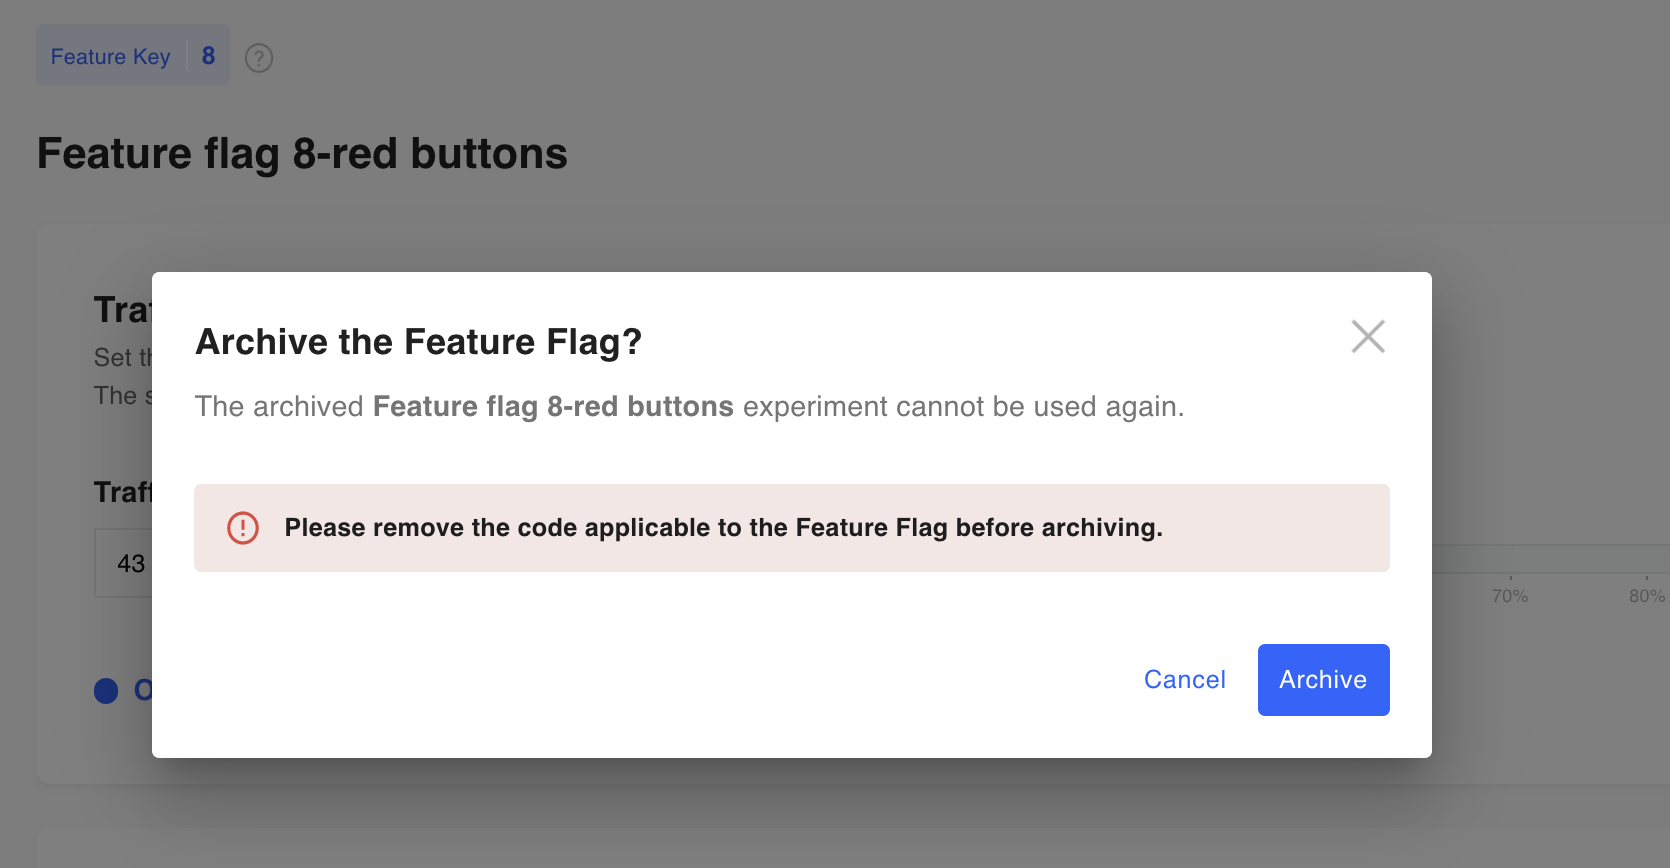
Make sure to remove the code related to the feature flag before archiving!If you leave the code as-is, you may encounter problems in the future.
Updated 6 months ago
