SDK Integration
Follow these steps to quickly start SDK integration:
Step 1. Add SDK Dependencies
Step 2. Initialize the SDK
Step 3. Send User Events
Step 4. A/B Testing, Feature Flags
Step 5. Closing
Step 1. Add SDK Dependencies
Add SDK dependencies.
go get github.com/hackle-io/hackle-go-sdkStep2. Initialize the SDK
hackle.Client is a class that provides methods for using SDK features. To use the SDK, you need to initialize hackle.Client.
Instantiation
Instantiate hackle.Client by passing the SDK key. hackle.Client periodically synchronizes with the Hackle server in the background to obtain the necessary information.
hackle.Client must be a singleton.HackleClient manages state internally to distribute test groups without network calls and uses additional resources for this purpose. It should be managed as a single instance throughout the application's lifecycle.
import "github.com/hackle-io/hackle-go-sdk/hackle"

// Replace YOUR_SERVER_SDK_KEY with your SDK key.
hackleClient := hackle.NewClient(YOUR_SERVER_SDK_KEY, nil)
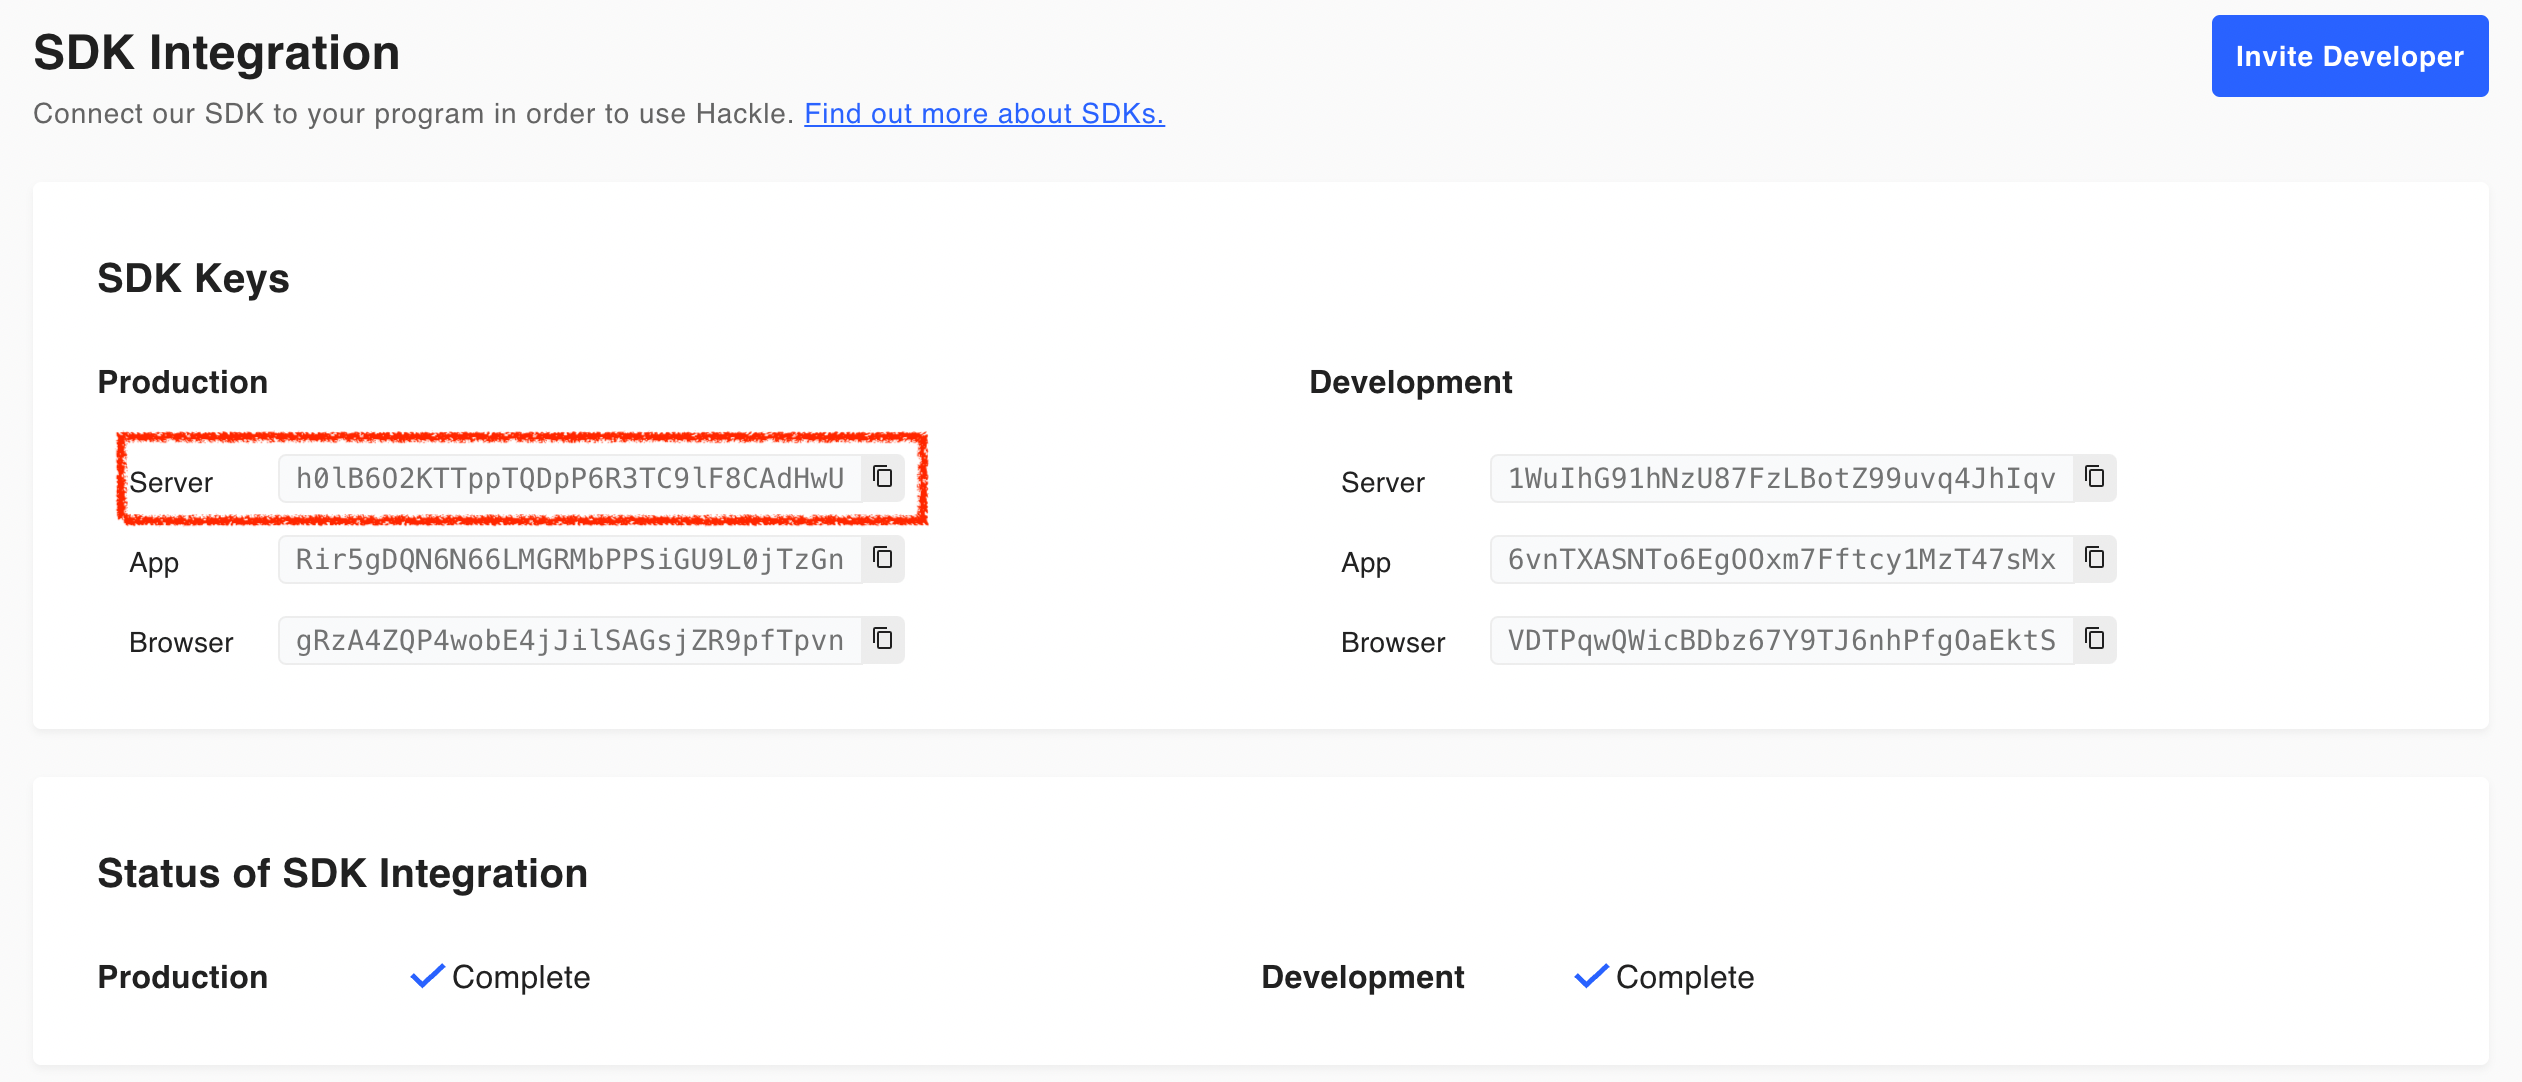
You can find the SDK key in the Hackle dashboard, which you signed up for in Step 1. Check the SDK keys by environment under SDK Integration Information, and use the Server SDK key.

Step 3. Send User Events
The Hackle SDK provides the ability to send user events to Hackle. By utilizing this feature at points where user behavior changes, you can obtain meaningful data on user behavior and analyze it.
Track
You can use the Track() method to send user events by providing an event and a user.
Example
Let's assume that you want to collect an event called purchase when a user clicks the "Purchase" button. In this case, you can define an event key named purchase. You may also want to collect purchase attribute information. In this case, you can include purchase attribute information in the property.
import "github.com/hackle-io/hackle-go-sdk/hackle"

// Sending an event called "purchase" triggered by a user with the identifier "ae2182e0"

// Example 1: Sending only the event key
user := hackle.NewUserBuilder().ID("ae2182e0").Build()
event := hackle.NewEvent("purchase")

hackleClient.Track(event, user)

// Example 2: Sending the event key and property information together
user := hackle.NewUserBuilder().ID("ae2182e0").Build()
event := hackle.NewEventBuilder("purchase").
    Property("pay_method", "CARD").
    Property("discount_amount", 800).
    Property("is_discount", true).
    Build()

hackleClient.Track(event, user)
In example 1, only the event key is sent, while in example 2, purchase attribute information is included in the property.
Validate the sending of user events
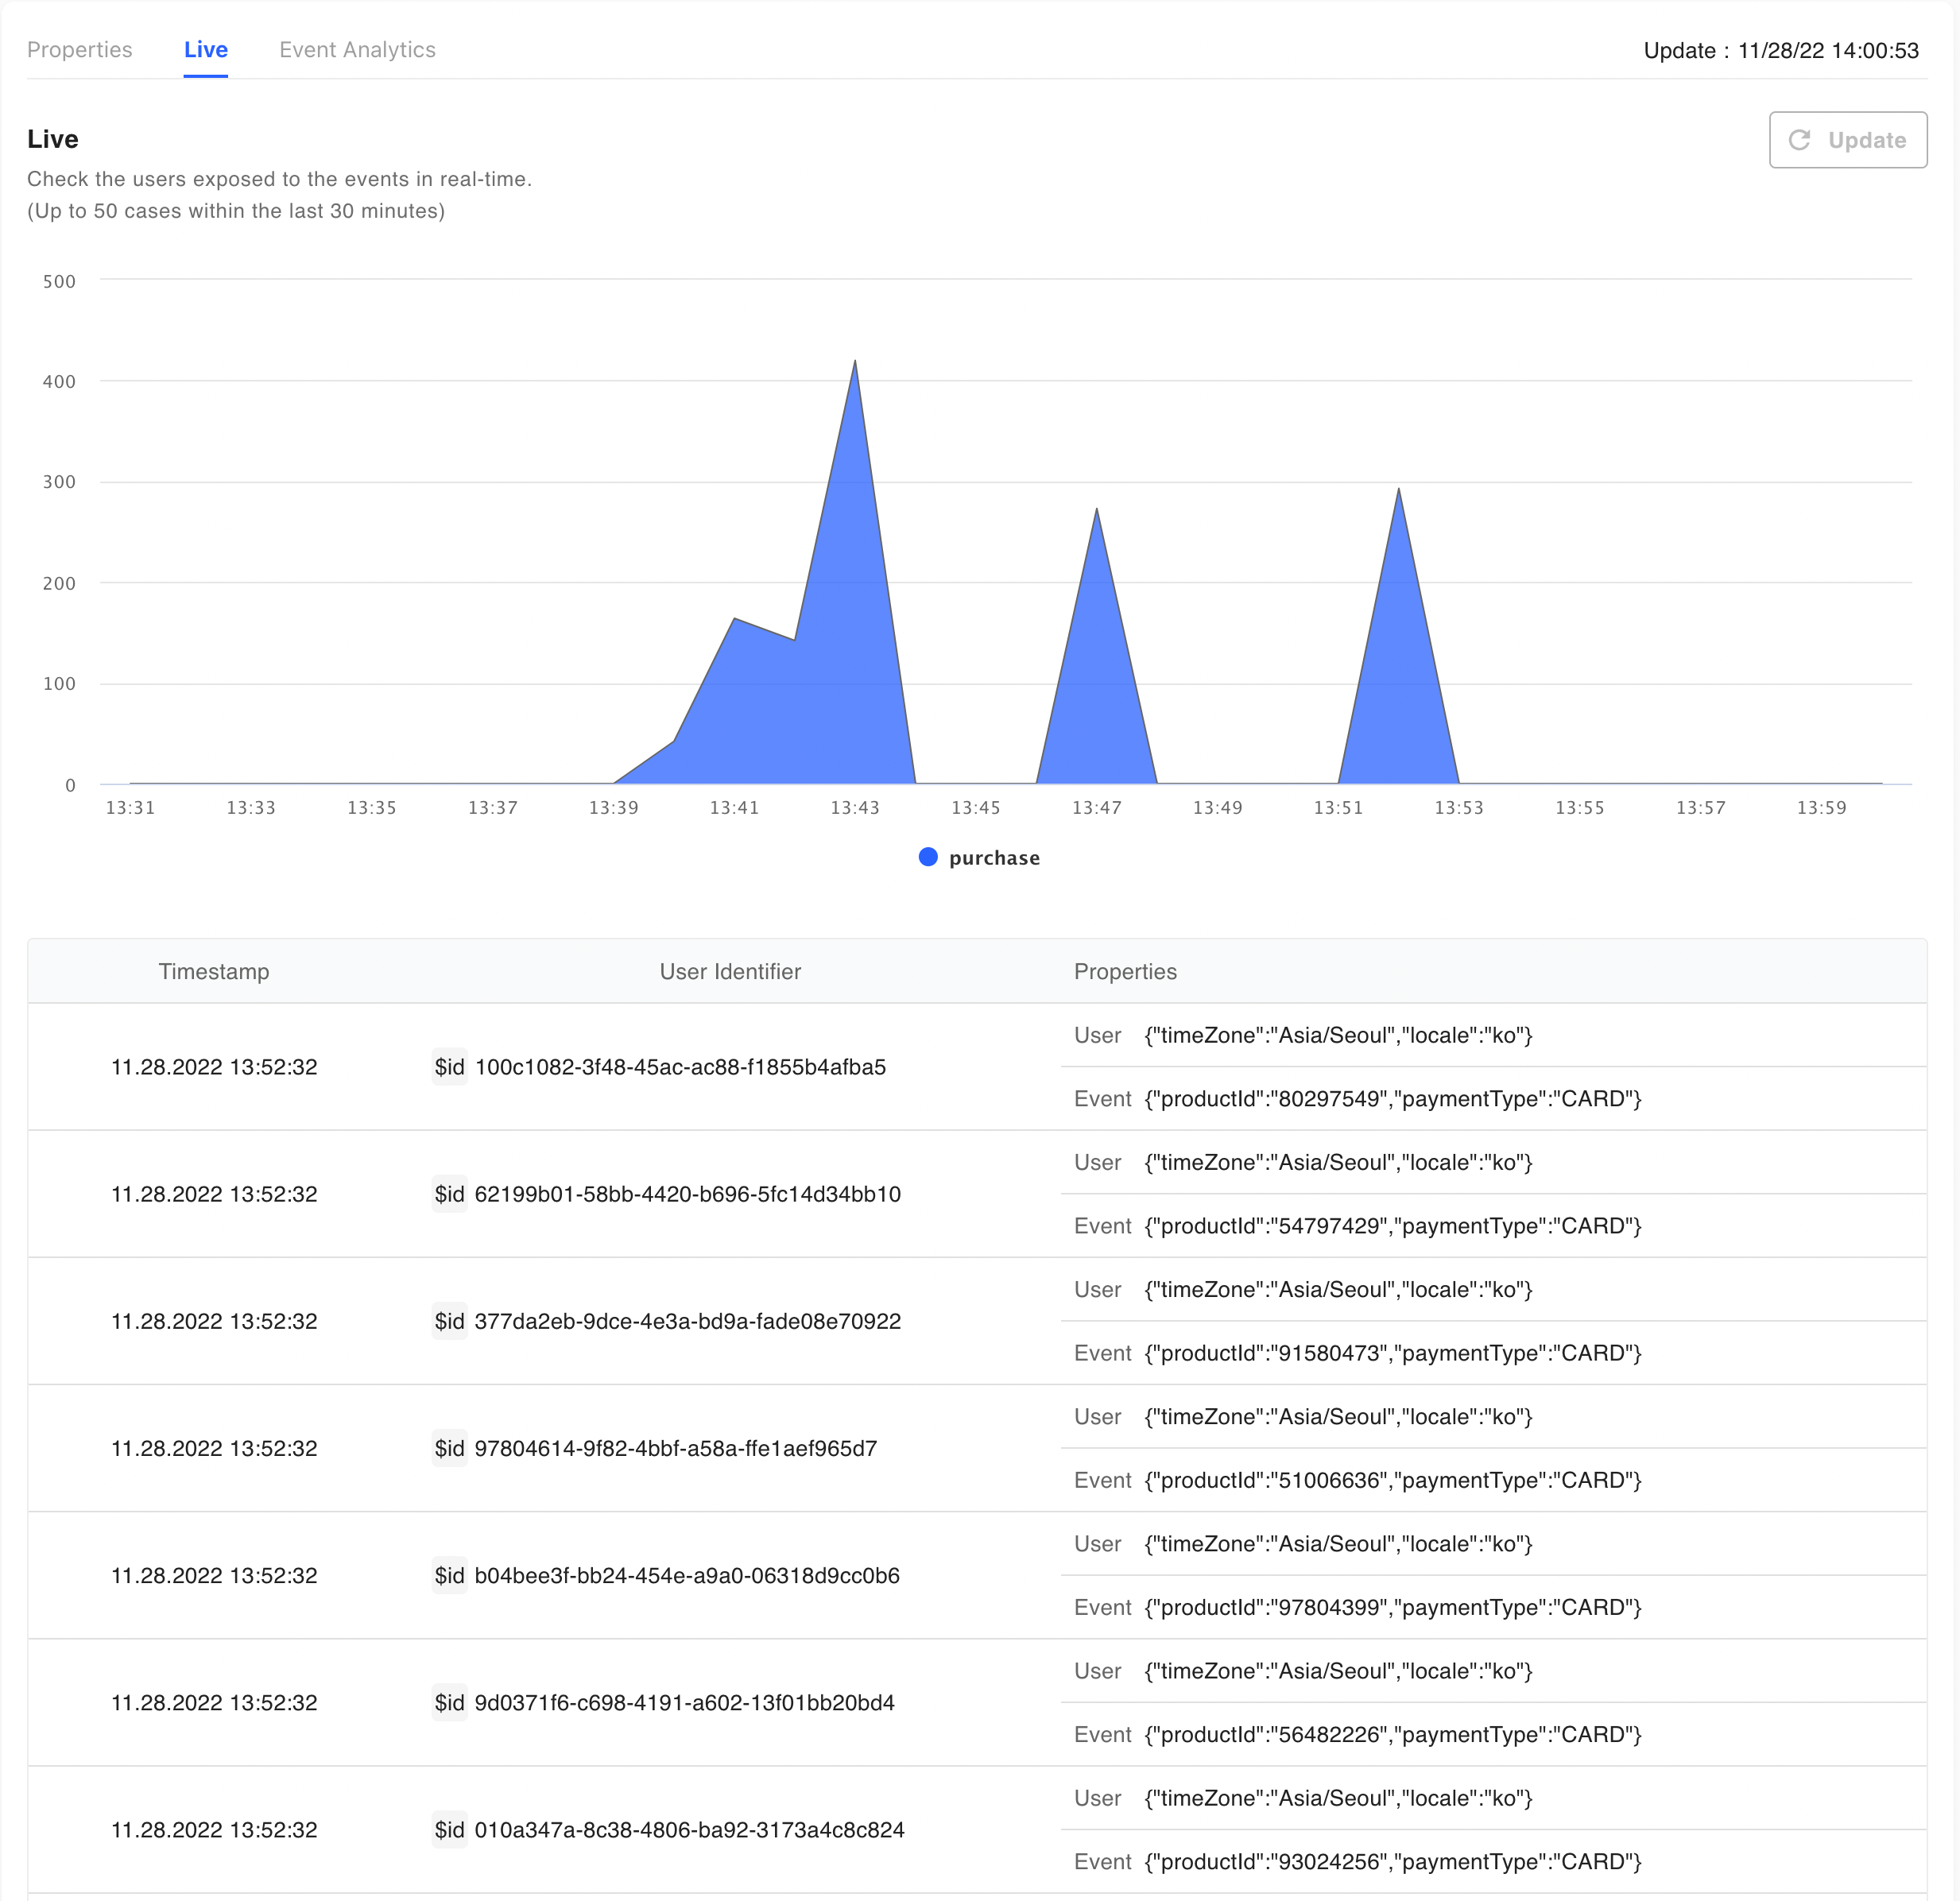
'You can check if the user events sent by the SDK are being collected correctly. In the Hackle dashboard, go to Menu] - [Ev - Management] to fi to find the events sent by the SDK and check the real-time event collection status.

Step 4. A/B Testing, Feature Flags
A/B test
When conducting A/B testing, you need to distribute users to test groups and implement logic for each test group, targeting the test groups. You can do user distribution using the Hackle SDK.
Test GroupsTest groups refer to the existing (control group) and improved (experimental group) versions of what is being tested, and there can be more than one improved version. You can configure test groups in the dashboard. For information on managing test groups, refer to the A/B Test Settings documentation.
variation
By providing an experiment key and a user to the Variation() method, you can distribute users and receive results. Then, you can implement logic for each test group. The experiment key is a unique number for each A/B test and can be found in the Hackle service dashboard. In the example code below, we're passing experiment key 42, and there are two test groups, A and B.
import "github.com/hackle-io/hackle-go-sdk/hackle"

// In an A/B test with experiment key 42
// Distribute the user with identifier "ae2182e0" to the test group for exposure.
// In cases where the assignment cannot be made, group A is returned.
user := hackle.NewUserBuilder().ID("ae2182e0").Build()
variation := hackleClient.Variation(42, user)

// Logic for the assigned group
if variation == "A" {
    // Group A logic
} else {
    // Group B logic
}
Feature Flags
Feature flags have on and off states. Different features are configured based on each state. For features with feature flags applied, users should be able to receive the on or off state when accessing the feature. You can do this using the Hackle SDK.
isFeatureOn
By providing a feature key to the IsFeatureOn() method, you can receive the state result for a user. Then, you can implement logic based on the state. The feature key is a unique number for each feature flag and can be found in the Hackle service dashboard. In the example code below, we're passing feature key 42, and the user's identifier is "ae03e1adf".
import "github.com/hackle-io/hackle-go-sdk/hackle"

// Determine the user's state in a feature flag with feature key 42.
// In cases where the determination cannot be made, false (off state) is returned.
user := hackle.NewUserBuilder().ID("ae2182e0").Build()
isOn := hackleClient.IsFeatureOn(42, user)

if isOn {
    // Feature is ON
} else {
    // Feature is OFF
}
Checking Distribution Results
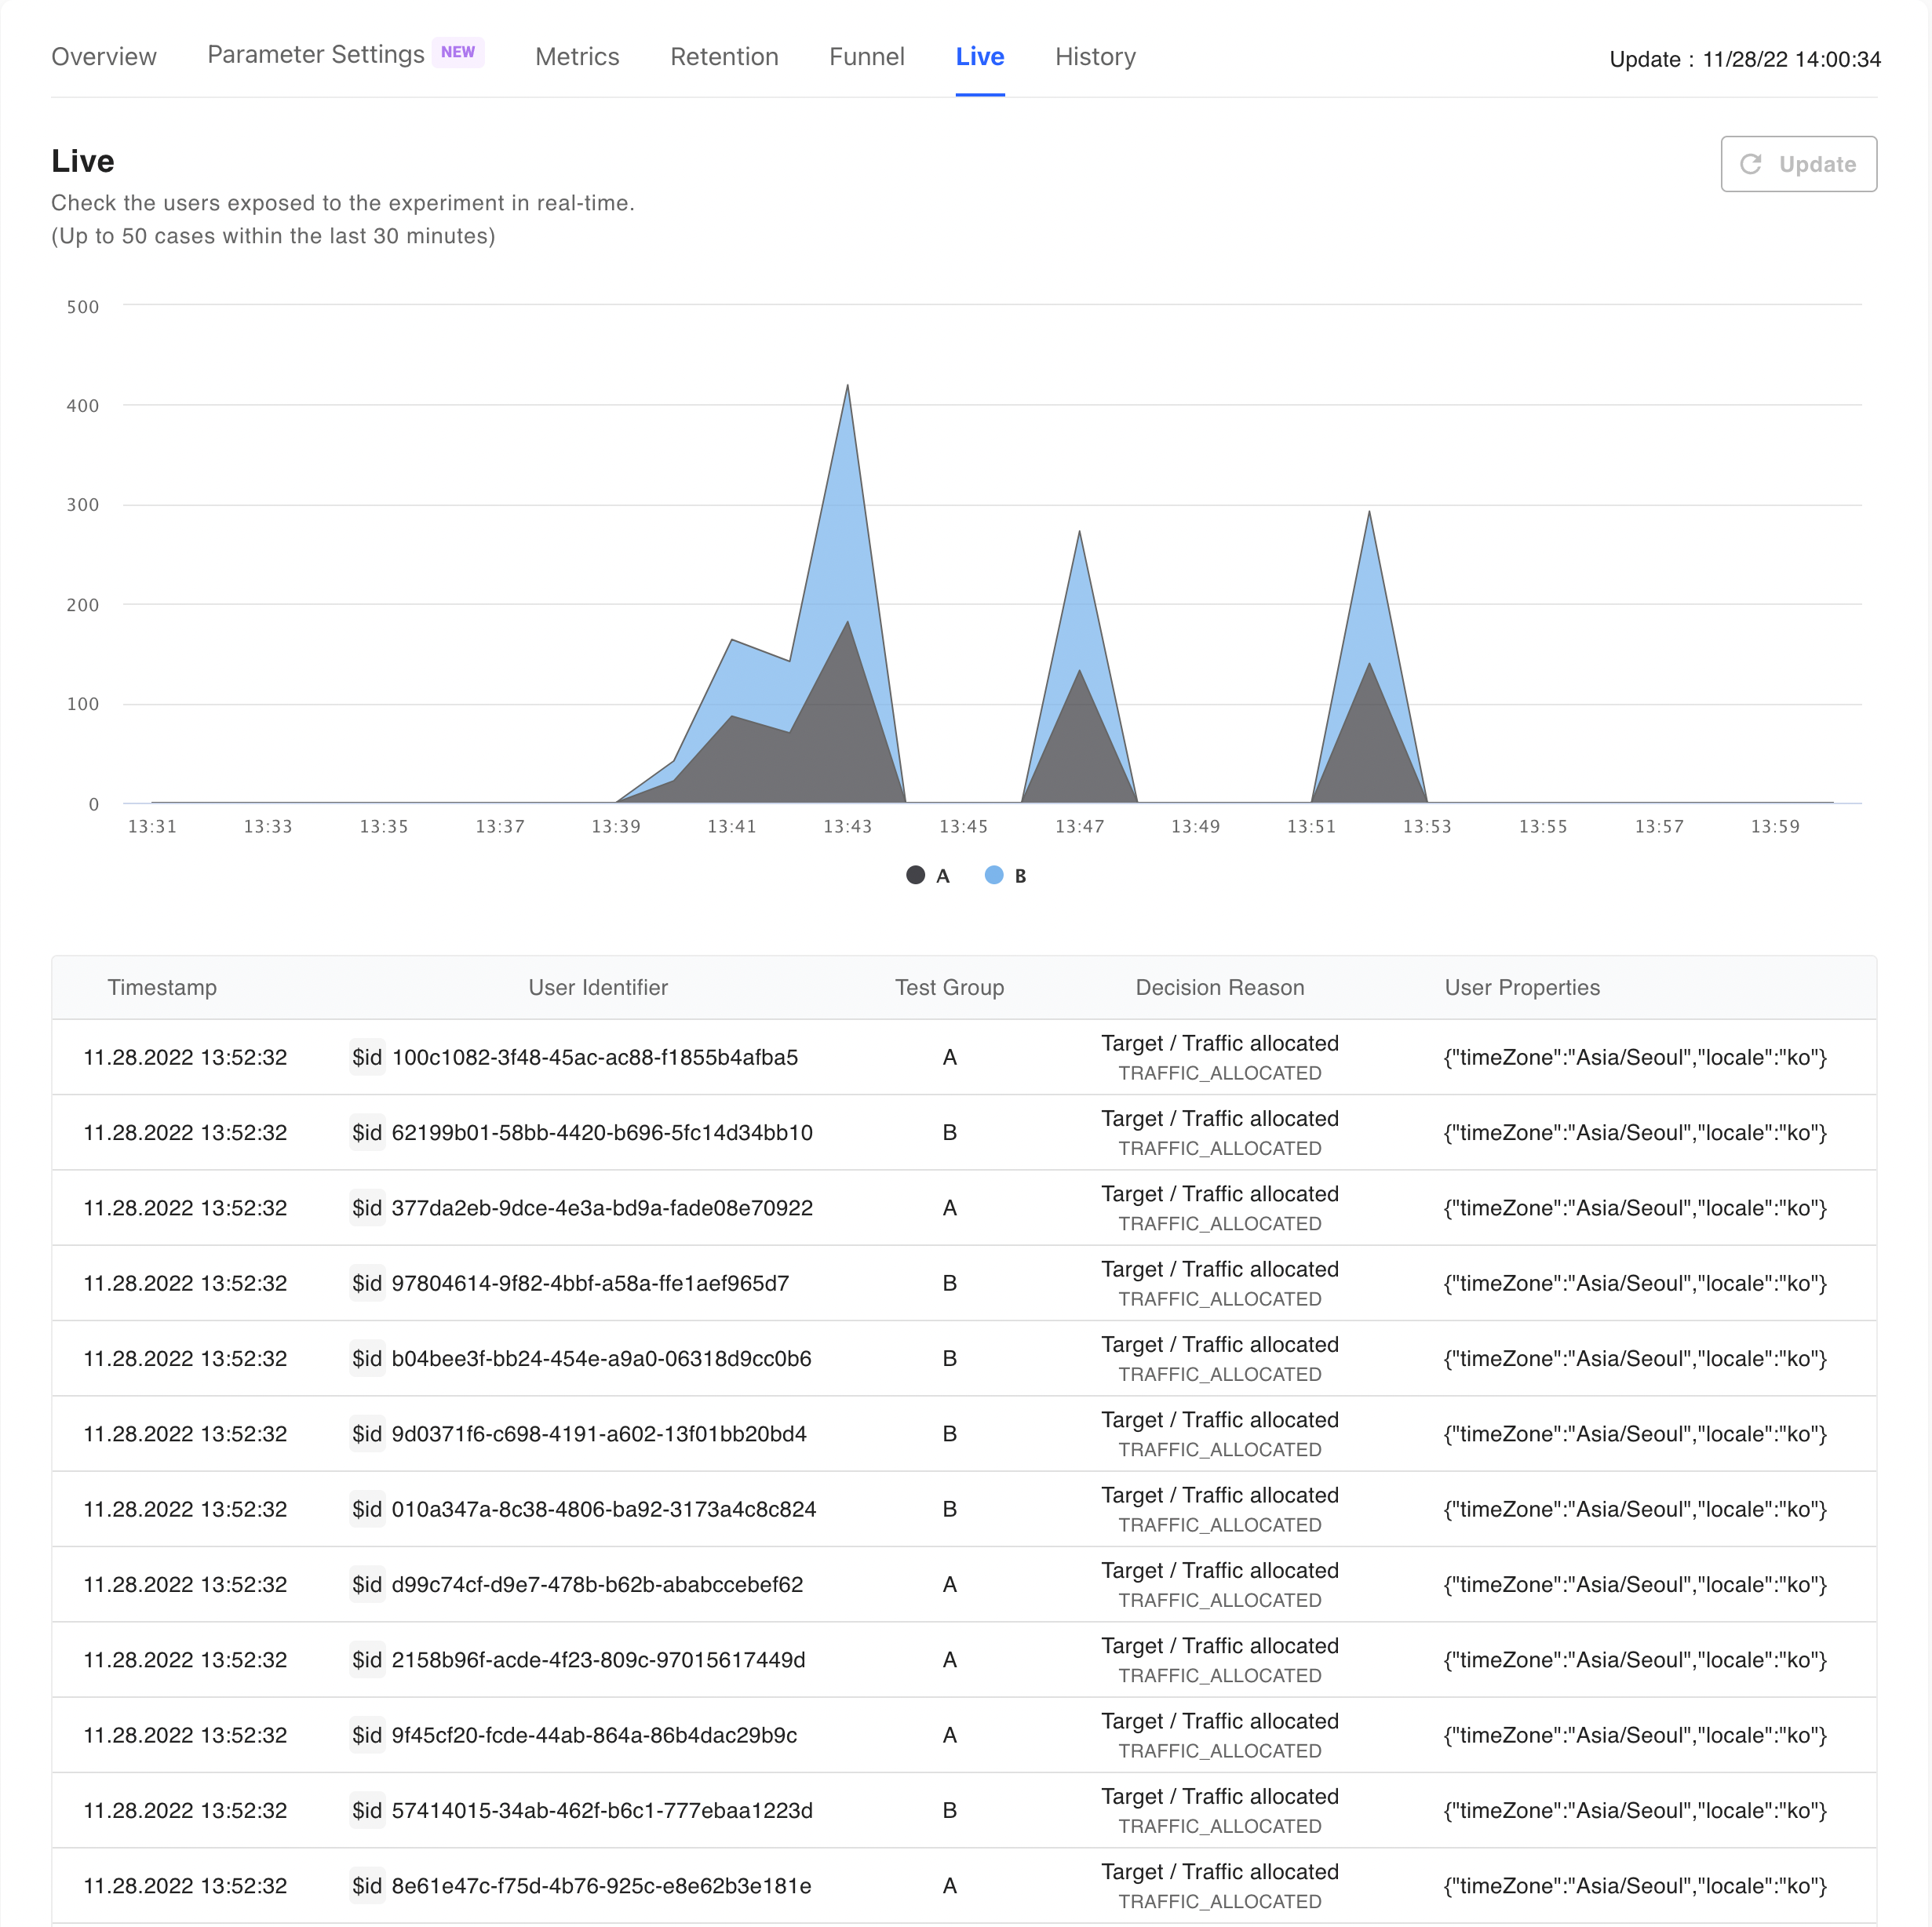
In the Hackle dashboard, go to nu] - [A/B - t or Feature Flag], find t, find the target you integrated, and go to the detailed page. Click the me Exposure Status] tab in tab in the middle of the screen to view the distribution results integrated with the SDK.

Step 5. Closing
import "github.com/hackle-io/hackle-go-sdk/hackle"

hackleClient.Close()
You must call the close() method when the application is terminated. This process releases the resources in use and sends any remaining events. Without this process, events may be lost when the application is terminated.
Updated 6 months ago

