A/B Test Walkthrough Guide
A step-by-step, overview guide for creating your very first A/B test on Hackle.
Before reading our on getting started with A/B testing, we recommend that you read our glossary page first.
The following guide is based on the production environment.
Prepare for A/B testing
1. Choosing Areas to A/B Test
If there are any changes that have the potential to affect existing users, it's a good idea to A/B test them.
Representative examples include:
- Logic, Algorithm change
- UI/UX change
- Changed text and banners for marketing
2. Create Metric Goals and Hypotheses
There should be a criterion of measurement in order to conclude which version is better, the original or the newly change changed version.
This could be in the form of more users, more button clicks, less loading times, etc.
These criteria are called metrics.
If you find it difficult to set metrics, it is helpful to generate the hypothesis first.
Establish a hypothesis by recalling why the proposed change is better than the existing one and why the change was made.
An example hypothesis to have in an A/B test can be:
"Changing the purchase button color from red to blue will increase the number of clicks."
As you can see from the above hypothesis, we included that the new change will lead to a "better" outcome. Whether this hypothesis is true or false will be determined by the results collected from our metrics data in the A/B test.
How to Carry Out an A/B Test

1. Prerequisites & Set Up
Step 1: SDK Integration →
Step 2: Manage Workspace →
Step 3: Events →
Step 4: User Identifier →
2. Create A/B Test
When creating an A/B test, you need to create & set the version (variant) you want to compare with the current version.
Please refer to the document below for more details.
3. Set Metrics
Metrics are a means for measuring the performance of different test groups within the A/B test. You can register multiple metrics you want to measure, and you can easily re-register previously registered metrics from other A/B tests.
Please refer to the document below for more details.
4. Set Test Groups
5. Allocate Traffic
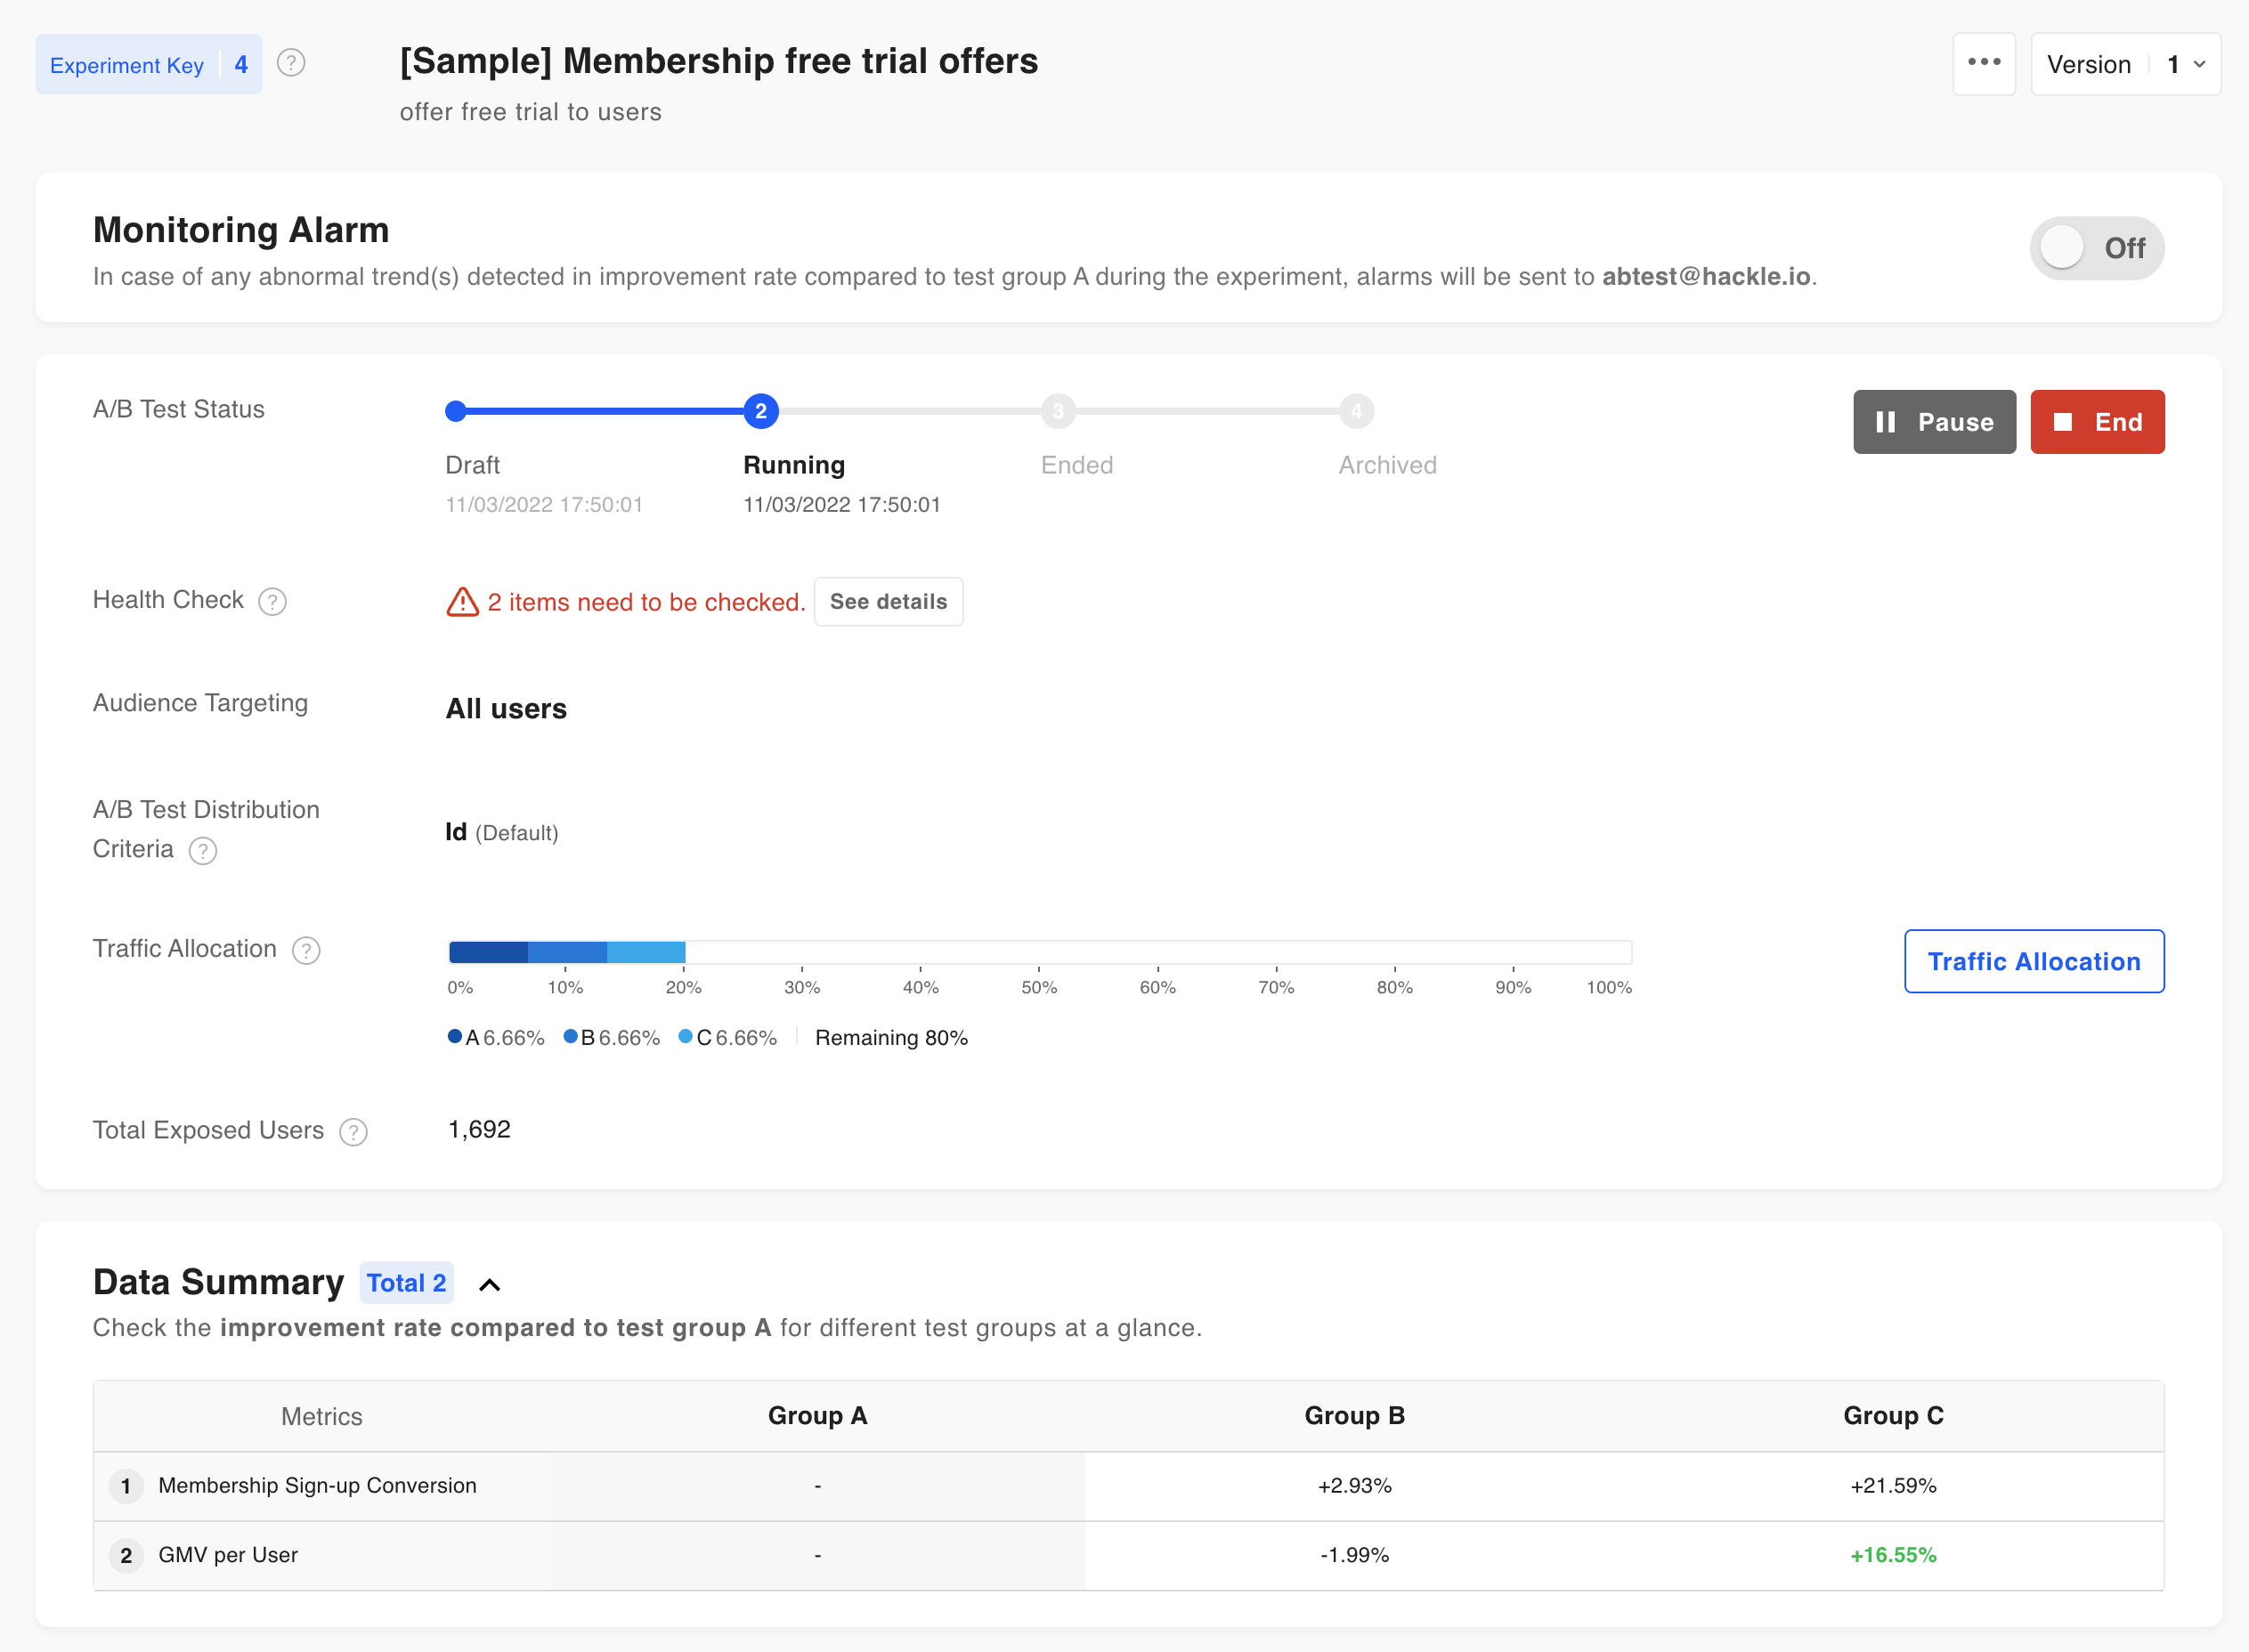
There is only one step left until you press start and begin your A/B test; setting your desired traffic amount.
In Hackle, you can use the traffic allocation function to expose your A/B test or experiment to only a desired percentage of users.
You can now start A/B testing.
Check the document below on starting, pausing, and terminating your A/B test.
Run the test for at least a weekIt is recommended to run the test for at least one week to avoid distortion of test results due to the influence of the days of the week.
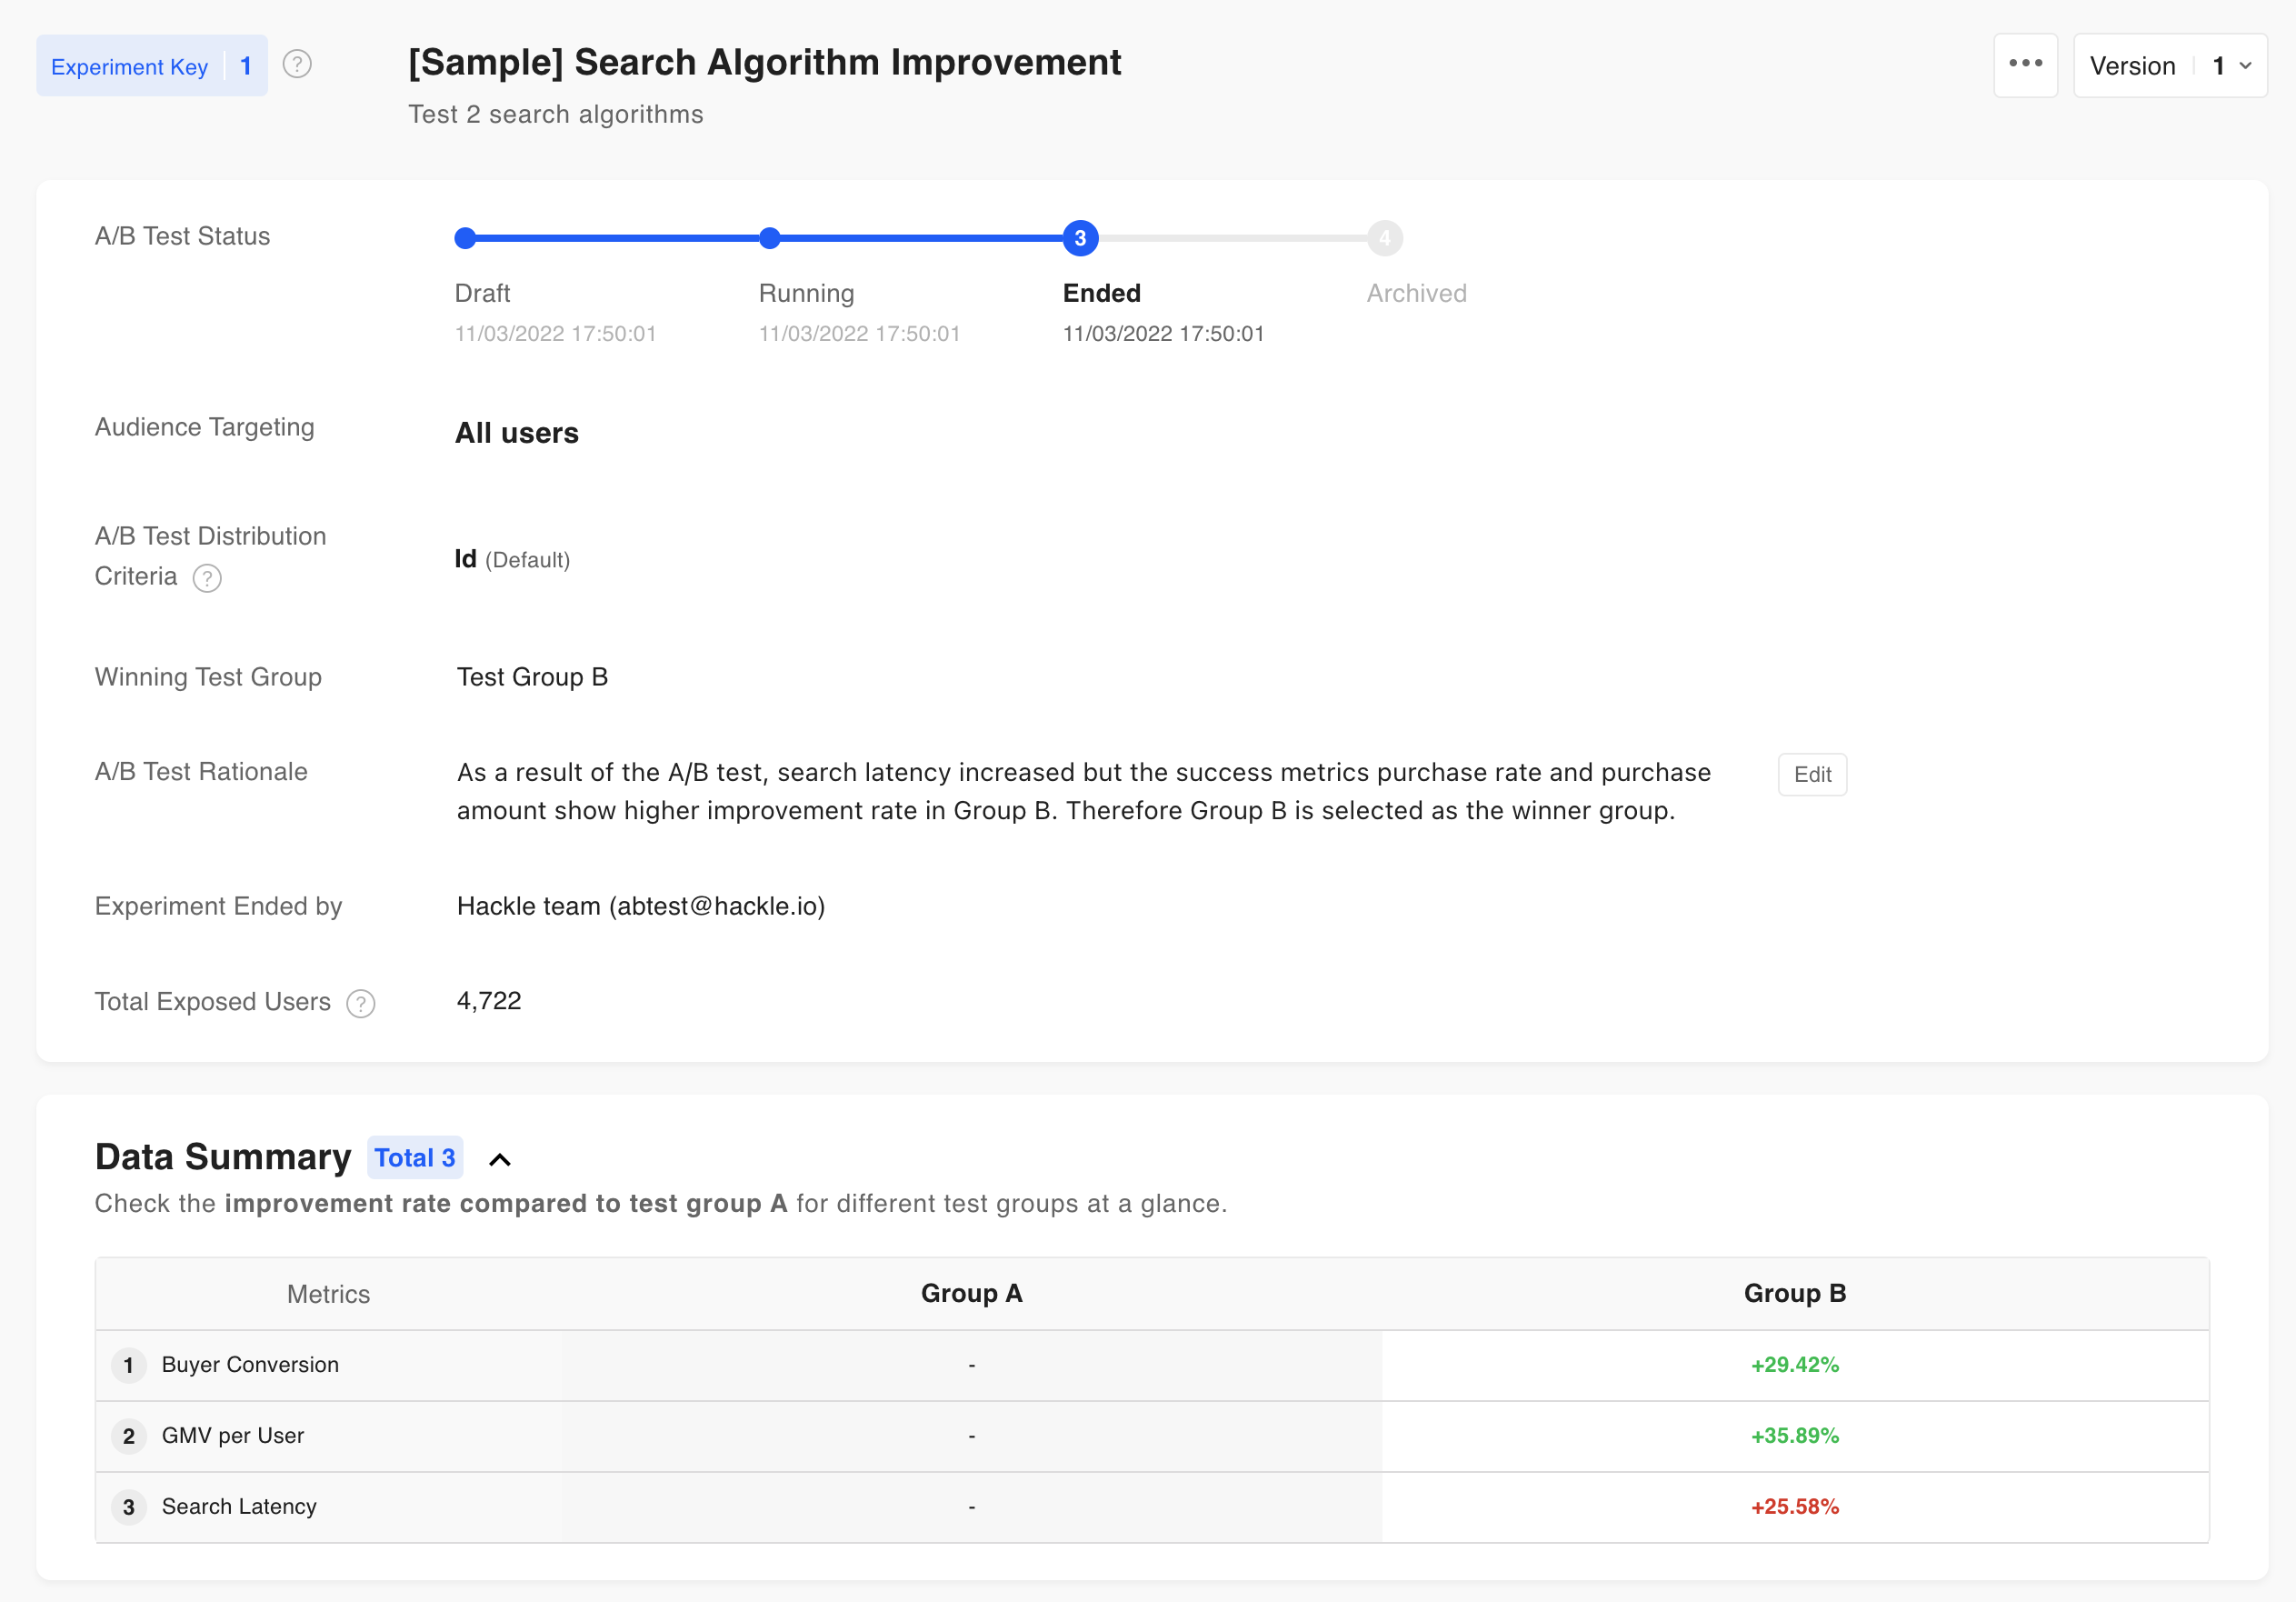
6. Interpret Results

The results of the A/B test can be viewed on the Metrics tab of the A/B test detail page.
You can find out what data you can get from your results and how to interpret them in the article below.
Raw data extractionWith a paid plan (Pro plan or higher), you can extract data regarding user distribution to test groups and events.
For more information about data extraction, please refer to **Frequently Asked Questions (SDK Integration).
7. Remove Code (important)
After deriving results and selecting the winning test group at the end of the A/B test, all users from that point onwards will be shown the version of the page of the winning test group.
Therefore, make sure to remove the code related to the A/B test after the experiment is terminated.
Updated 6 months ago
