Send a Webhook
Creating a Webhook
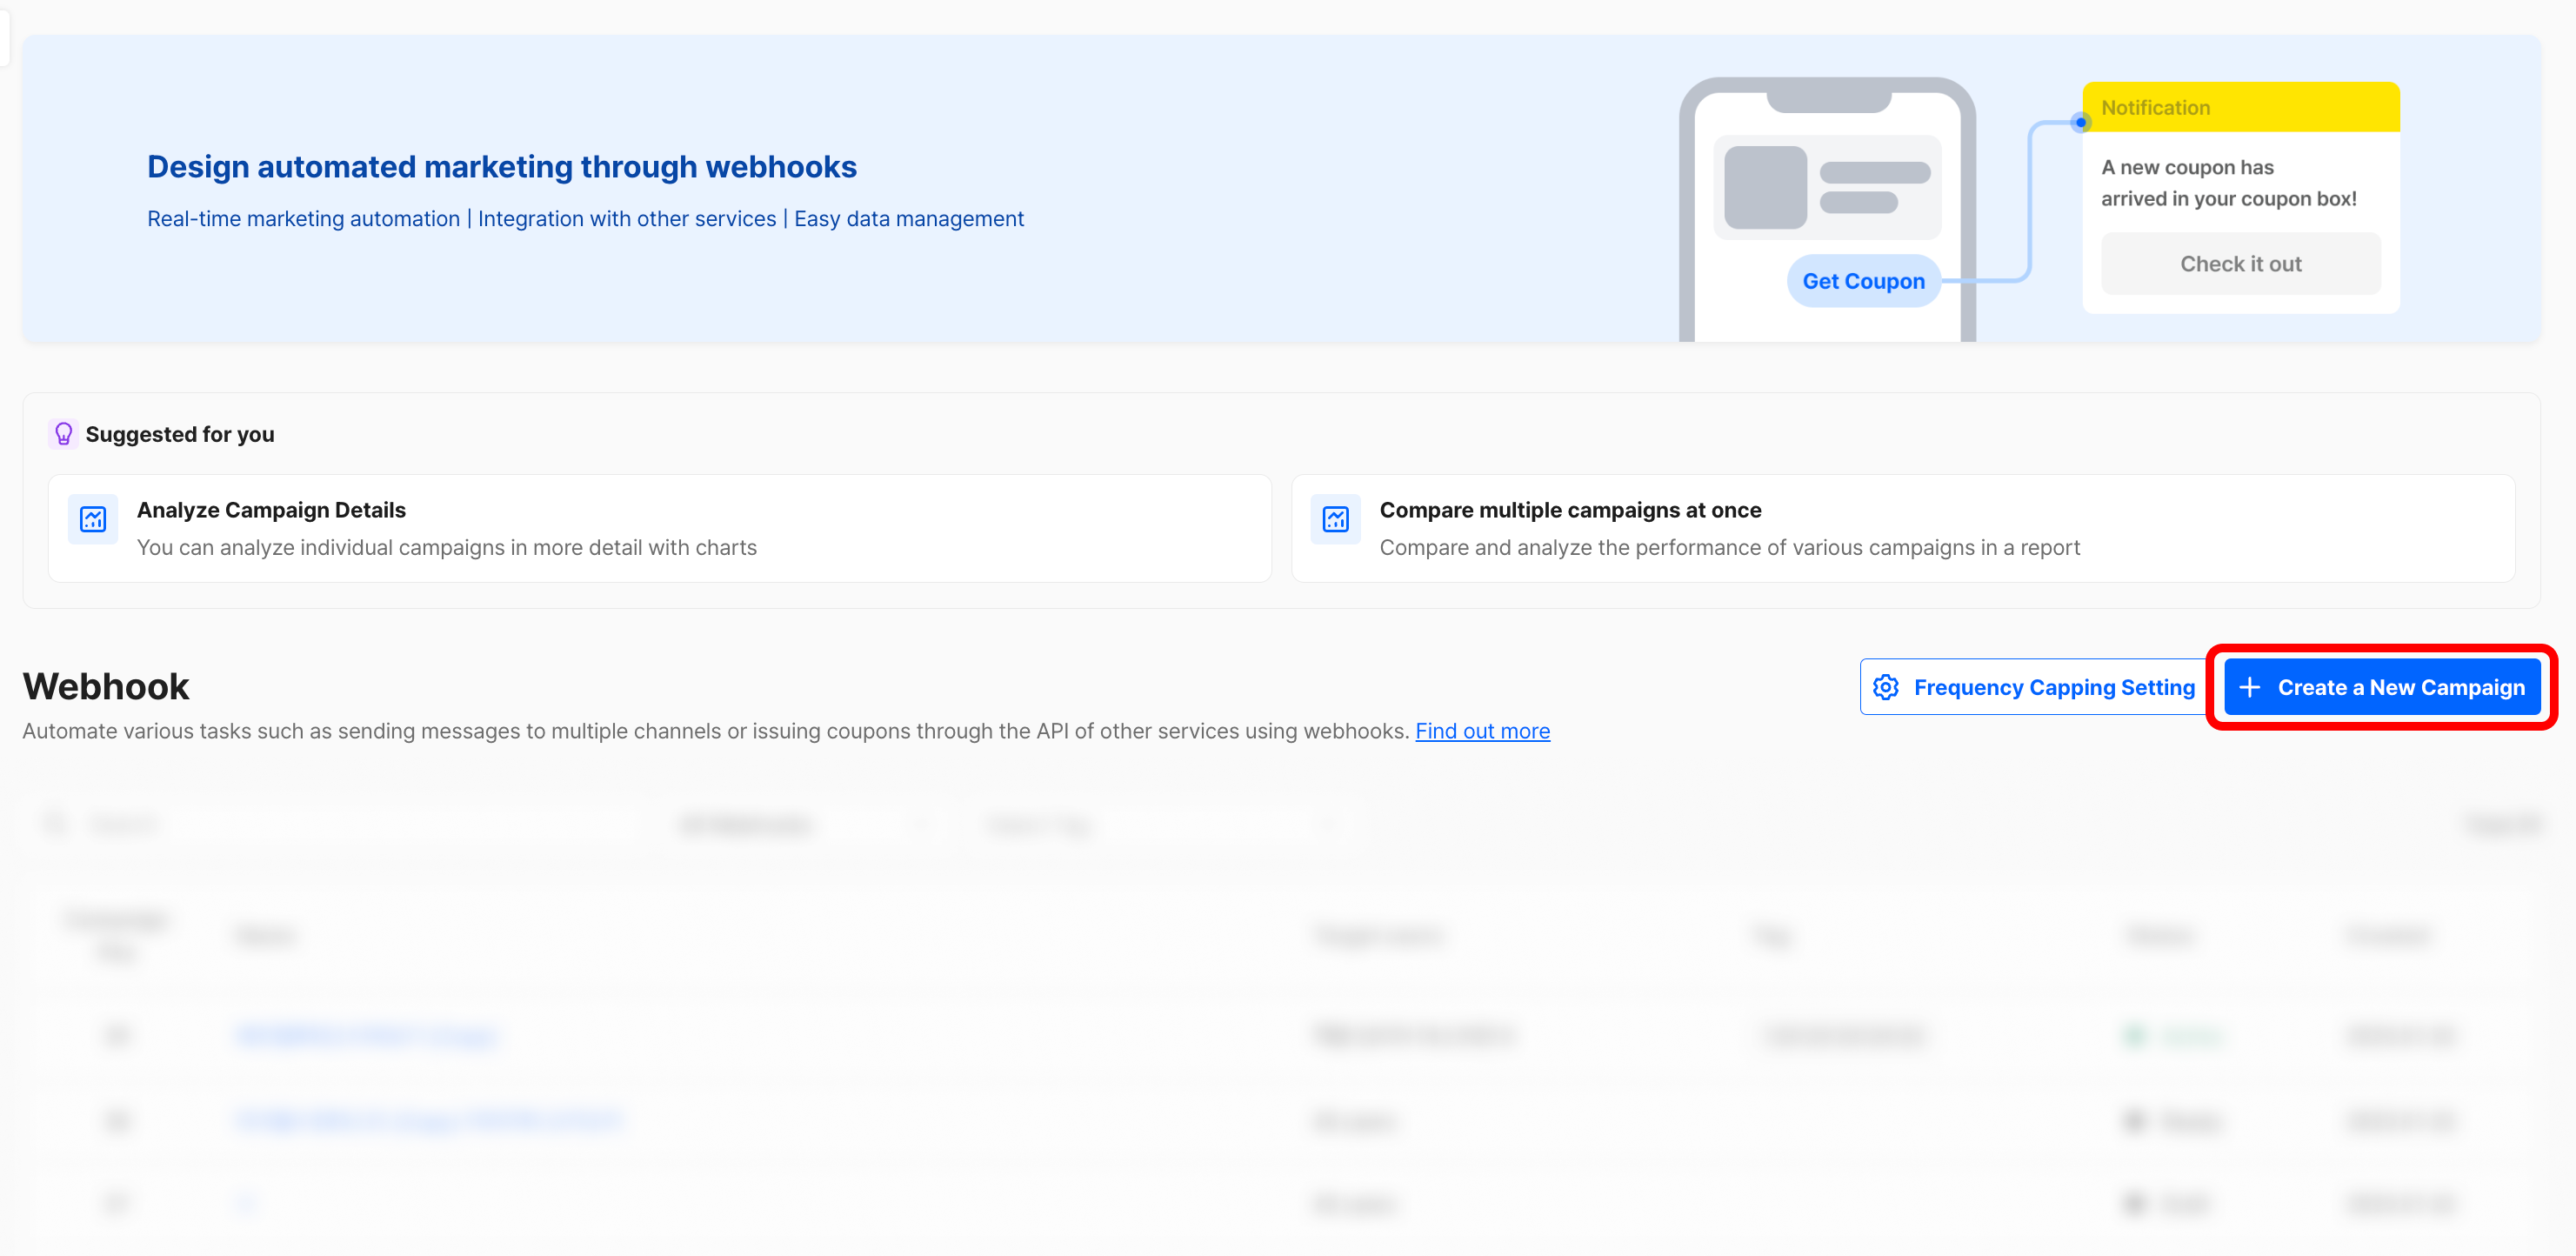
To create a new webhook campaign, go to the Webhook menu in the dashboard and click the [+ Create Campaign] button located in the upper-right corner.
Step 1: Campaign Settings
When you create a campaign, you can review the campaign key, title, description, and status.
- Campaign Key: A unique identifier for the campaign, which can be used to extract data such as the users exposed to a specific campaign.
- Campaign Title / Description: You can edit the campaign’s title and description.
- Campaign Status:
- When a campaign is first created, its status is set to “Draft”.
- After configuring the campaign details, you can start the campaign.
- To make changes to a running campaign, switch its status to “Active”.
- If you no longer wish to proceed with the campaign, you can terminate it.

Step 2: Webhook Configuration
2-1. Mandatory Settings
For APIs required for sending messages via KakaoTalk or SMS, please contact your messaging service provider for the necessary details.

- URL (Required)
The URL where the webhook events will be delivered. This field is mandatory, and the URL must use the HTTPS protocol. - Method
The HTTP method to be used for receiving webhook events. Supported methods include GET, POST, PUT, PATCH, and DELETE. - Parameters
Query parameters included in the webhook request URL. These are entered in a key-value format and can be used to send information such as user IDs or event types. - Headers
Additional data sent with the webhook request. Entered in a key-value format, headers are used for passing information such as authentication tokens or configuration details.
By default, all webhook requests include the Content-Type: application/json header, which cannot be modified. Additional headers can be configured as needed. - Body
The HTTP body sent with the webhook request. This is not available for GET requests. The body is encoded in UTF-8 by default.
2-2. Personalization Settings
- Use the {...} button to create personalized messages.
- In the dd Personalization] m modal, you can select event properties or user attributes. You can also configure fallback text to display when a property has no value.

2-3. Targeting Settings
- You can set the campaign target by defining a cohort. Use various events and attributes to create the desired cohort.
- Once you’ve previewed the campaign and confirmed there are no issues, and after setting the campaign target, click Save to proceed to the next step.
Step 3: Review Webhook Details
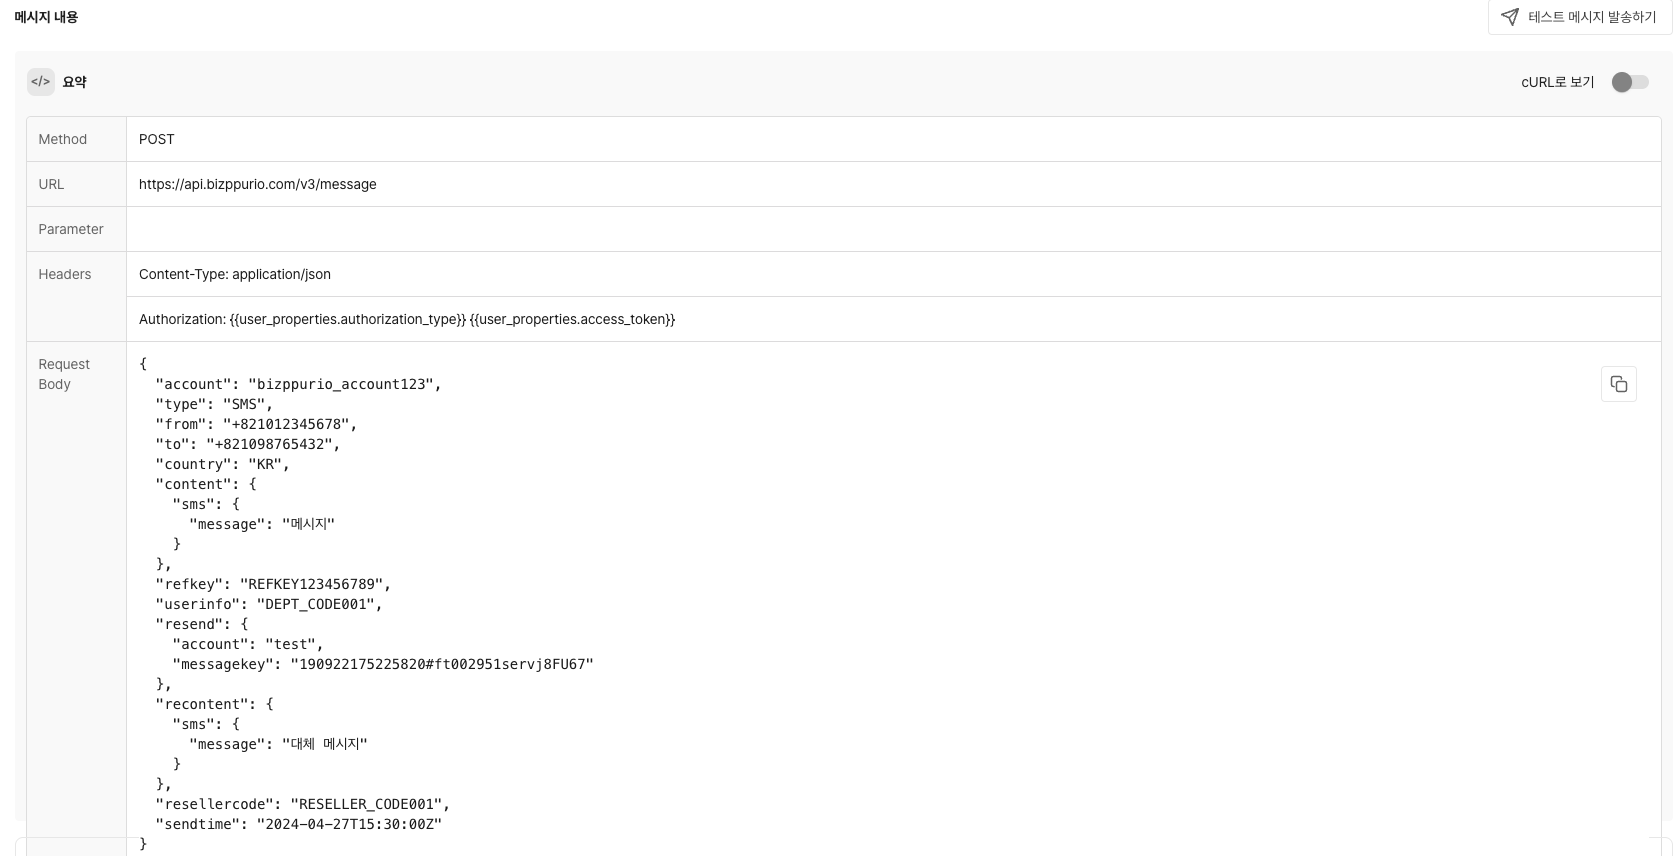
You can review the summary information of the created webhook. Both cURL format and table format are available for viewing.
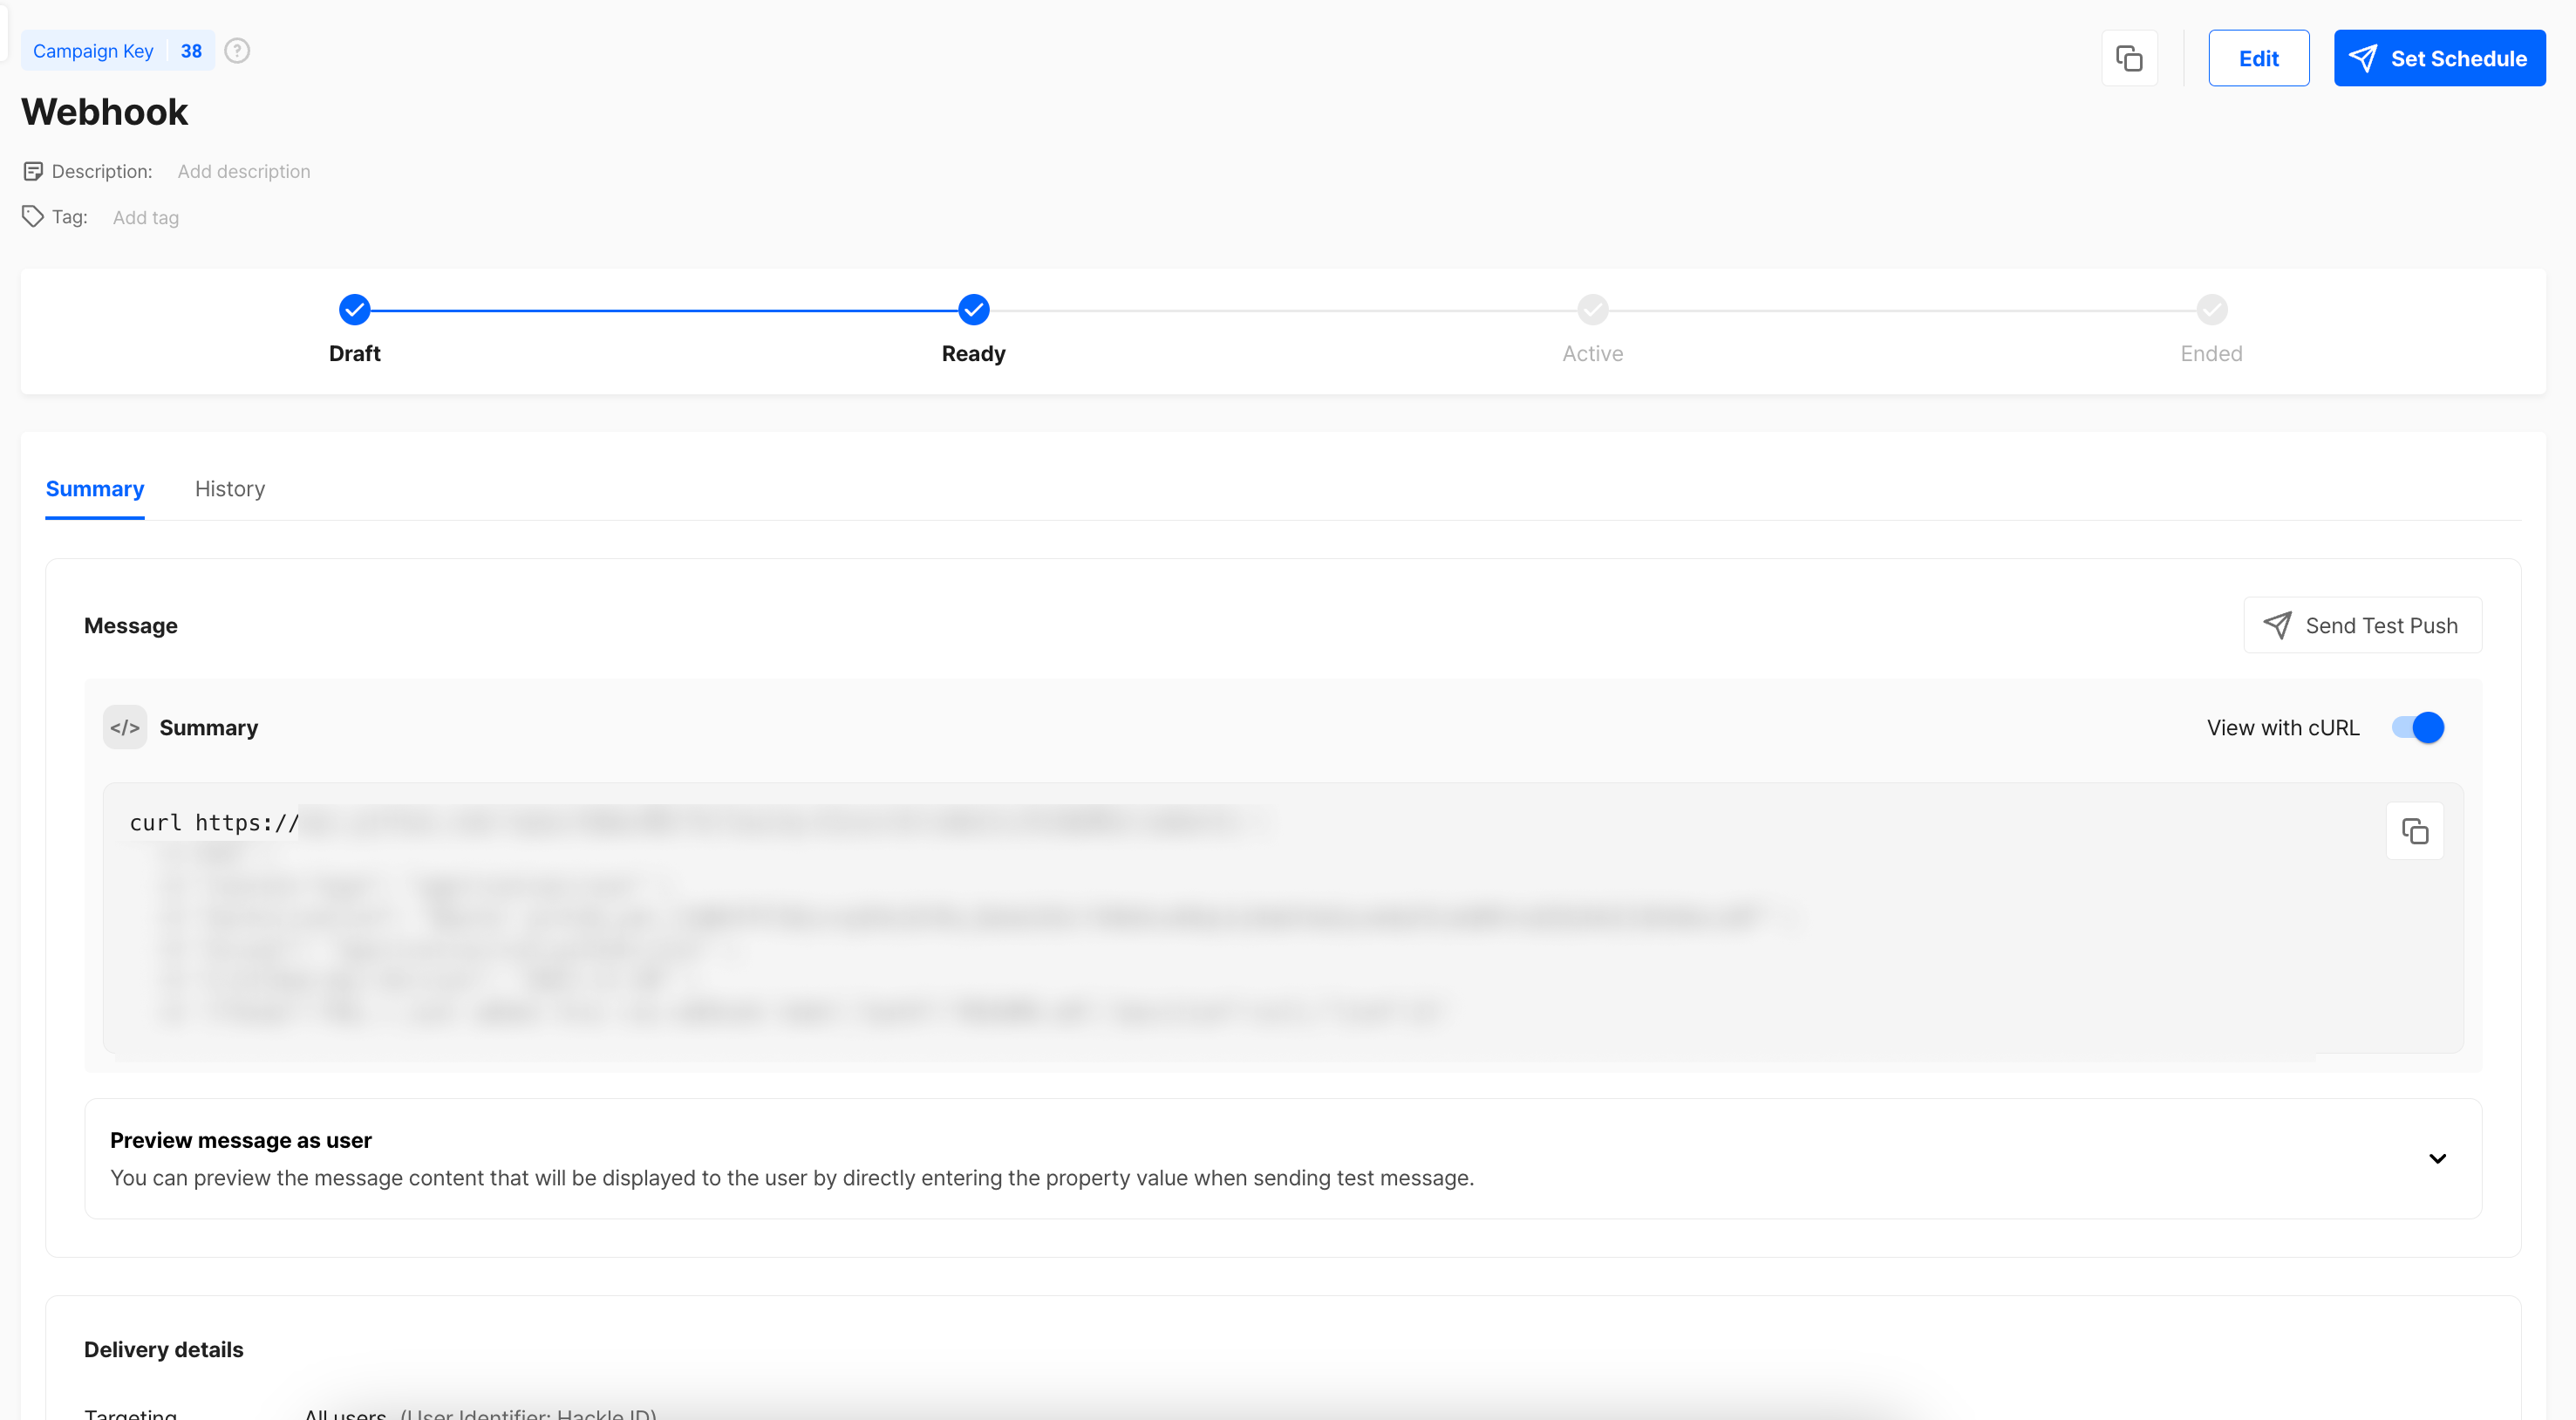
cURL format
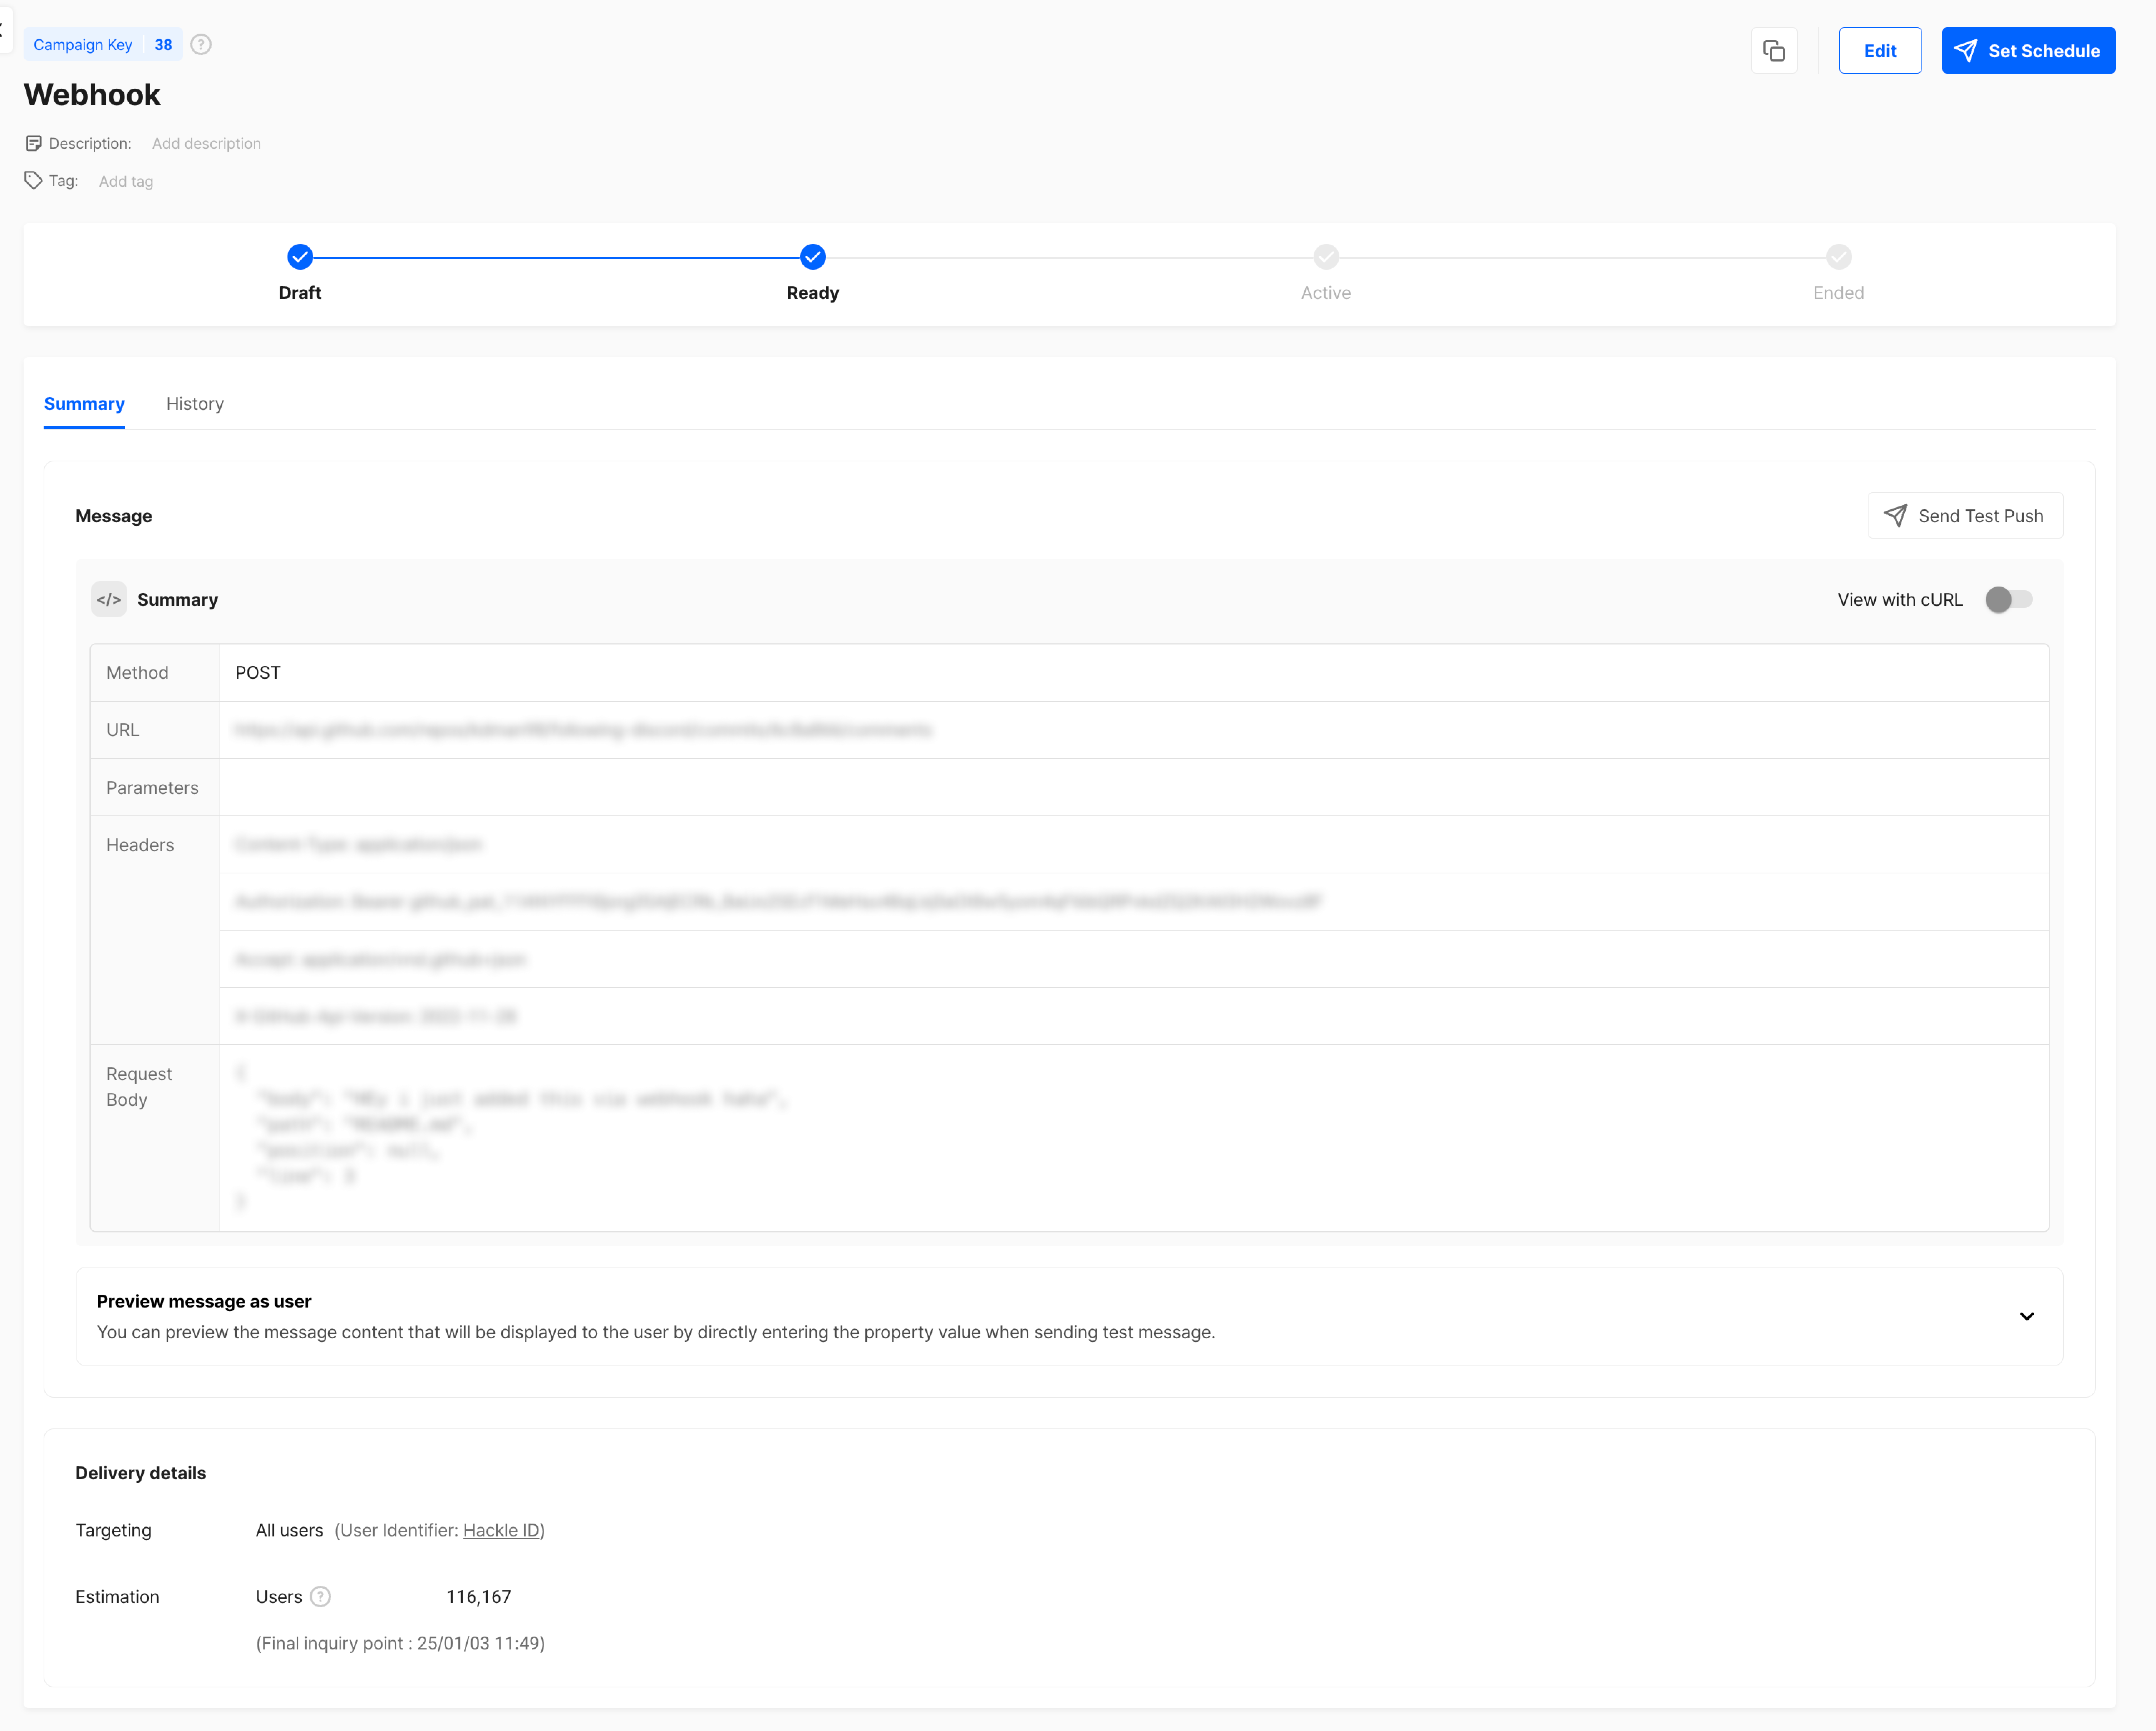
Table format
Step 4: Test Sending
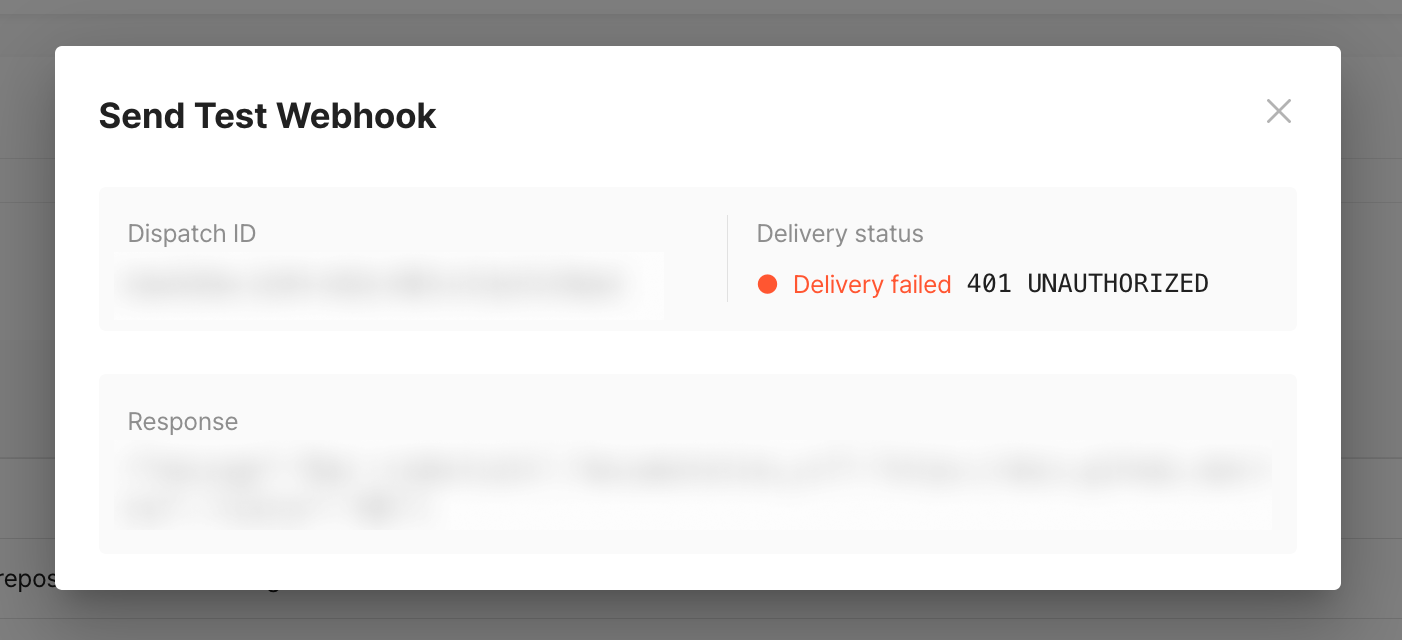
Before starting the webhook, you can test it in Hackle to ensure that the request is in the correct format.
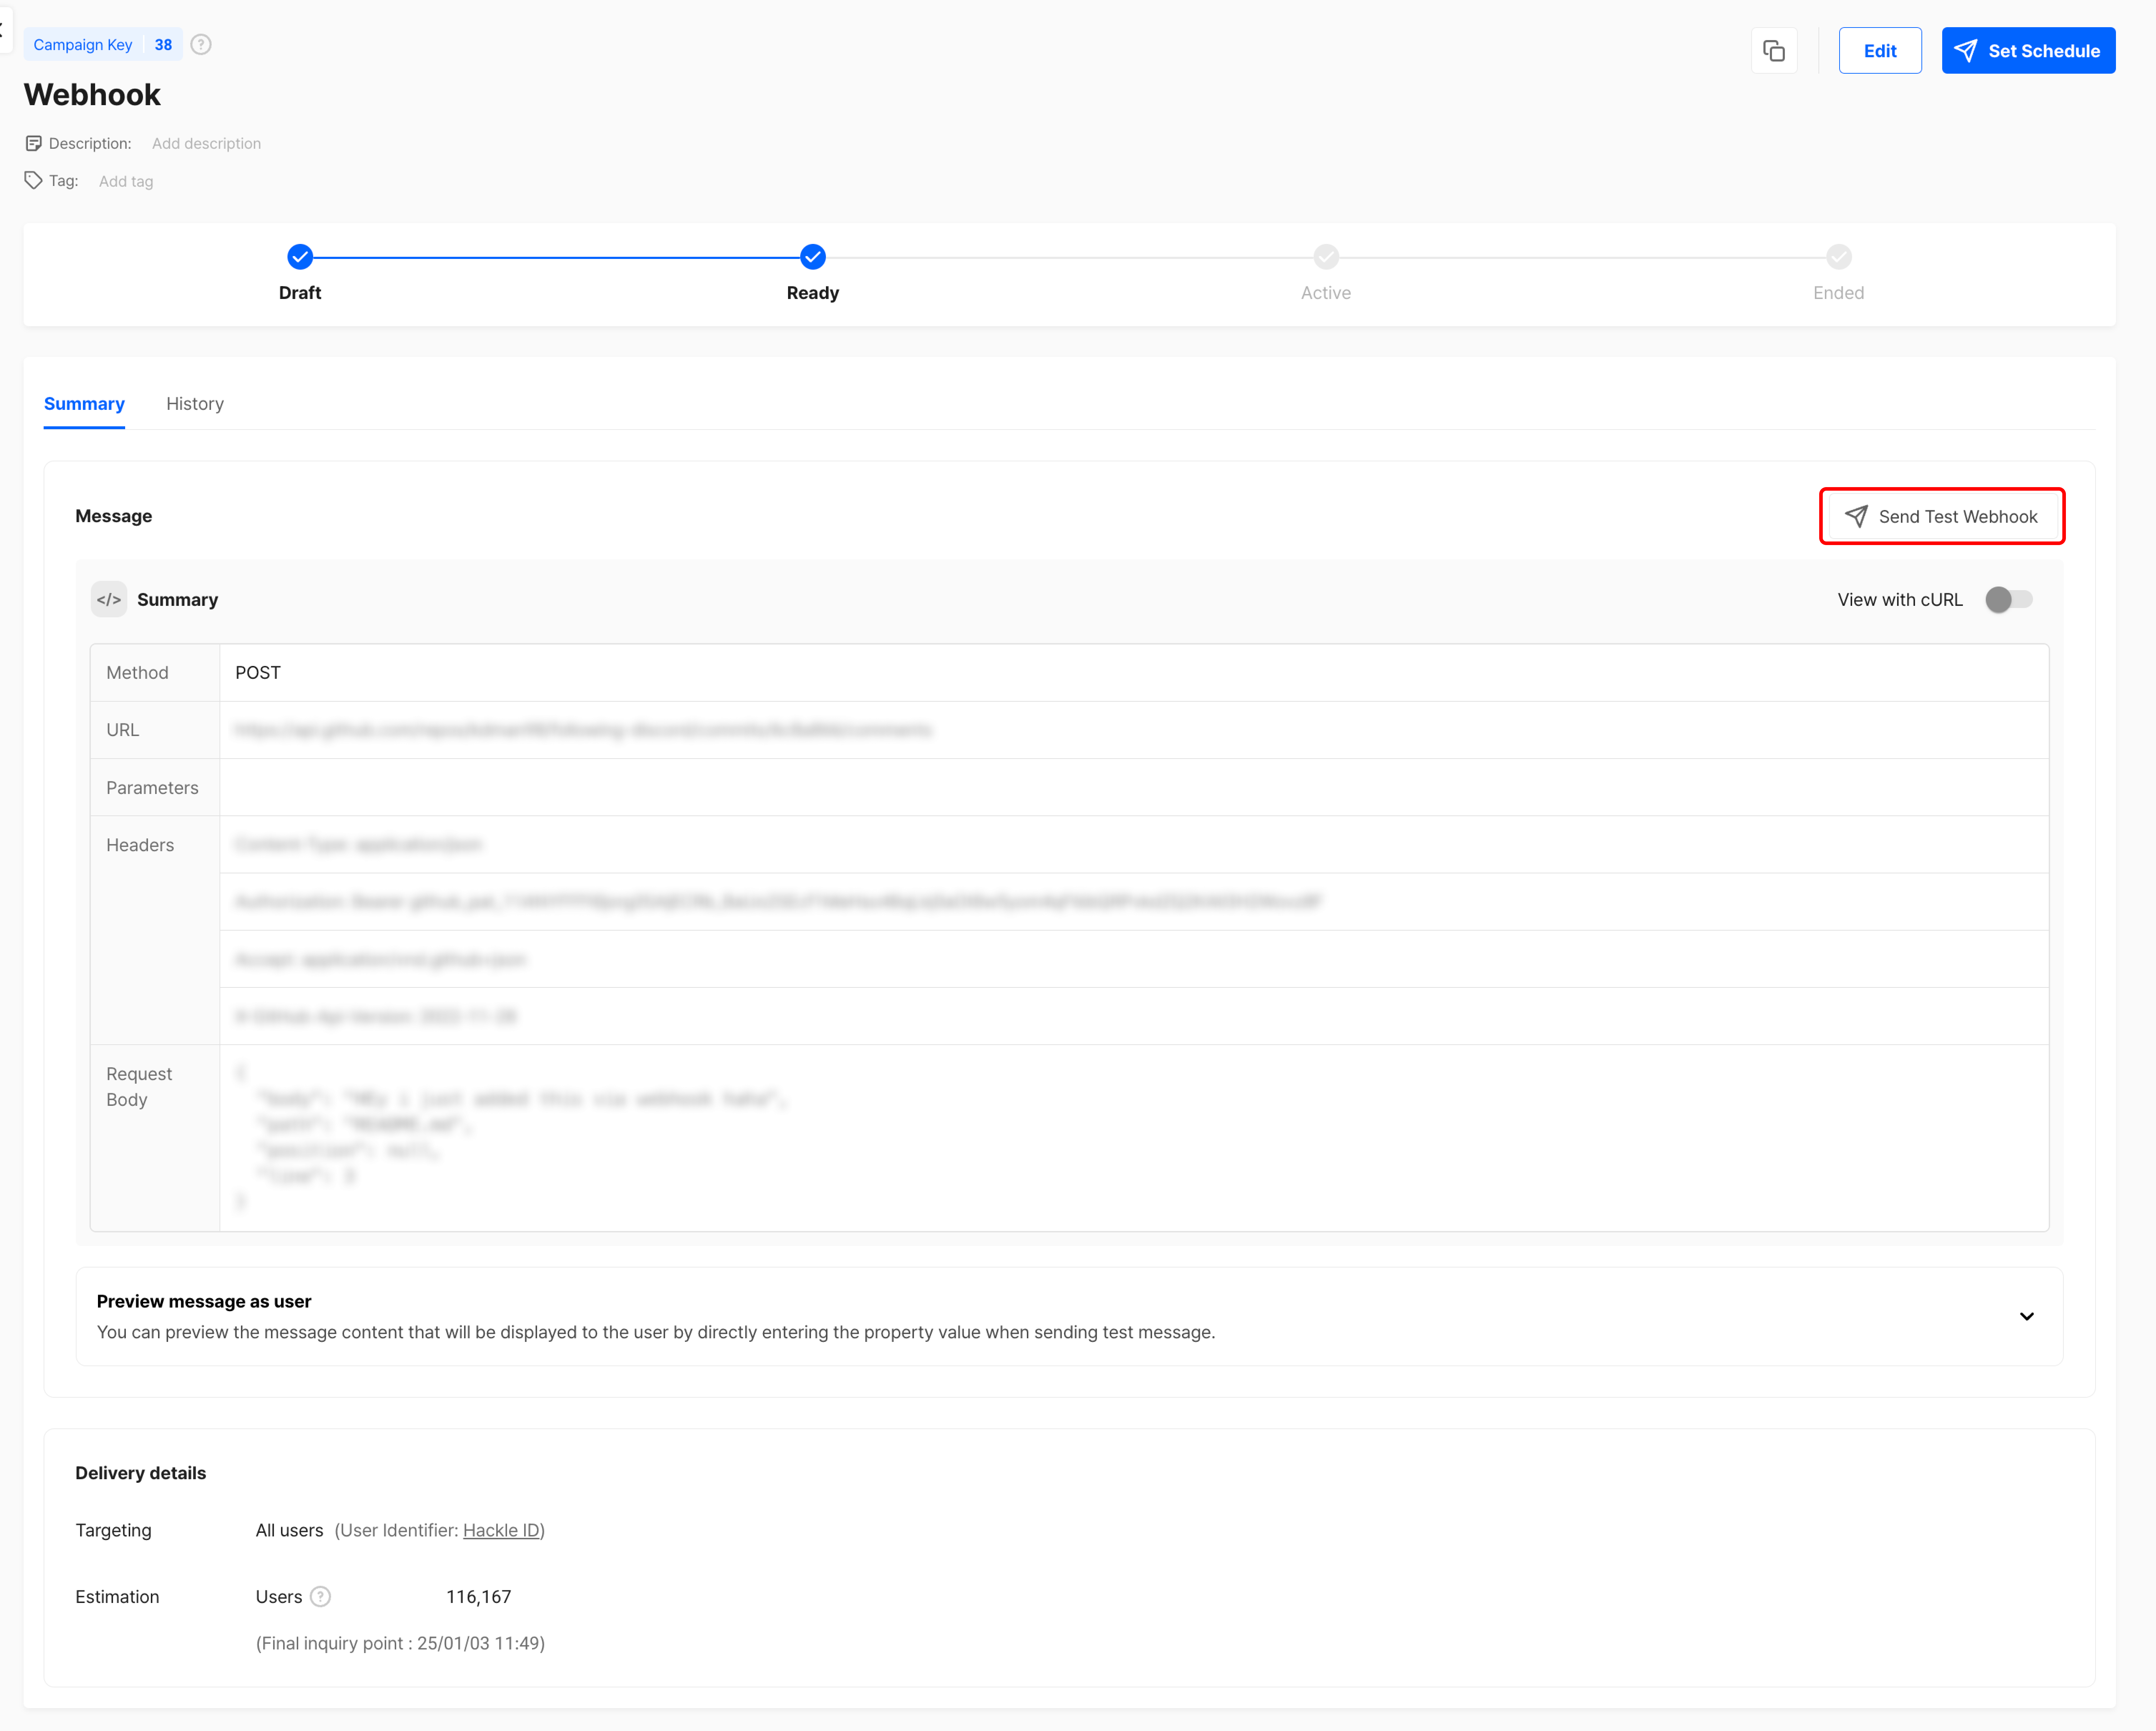
- Click the Test Message] butto button to send a test webhook.
- After sending the test webhook, you can check the delivery status and the response information in the displayed modal.
- If the send attempt fails, you can review the error message in the delivery status.
For a detailed explanation of error messages, refer to the ing on Request Failure] secti section.
Step 5. Set Schedule
5-1. Choose the Delivery Type
At Hackle, we offer three delivery types. Choose the appropriate delivery type based on the nature of your message.
발송 유형 | 설명 |
|---|---|
Time-based Delivery | Sends a message at the designated times. |
Event-based Delivery |
|
API-Triggered Delivery |
|
Each delivery type behaves the same as push messages.
For detailed information on each delivery type, please refer to the Delivery Types document.
5-2. Fatigue management
Excessive notifications can become a burden and annoyance for customers, potentially leading to service churn. If you are sending multiple messages, you can manage customer fatigue by setting the number of times and frequency a specific customer receives messages within a given time frame.

Re-eligible delivery
- By default, the same campaign will be sent to a user only once.
- If you wish to allow duplicate sends, you can set the duration between the initial send and the next resend in minutes, hours, days, weeks, or months, minimizing negative customer experiences.
Frequency capping
- You can limit the number of messages an individual user can receive within a specified time period (based on the push send start time).
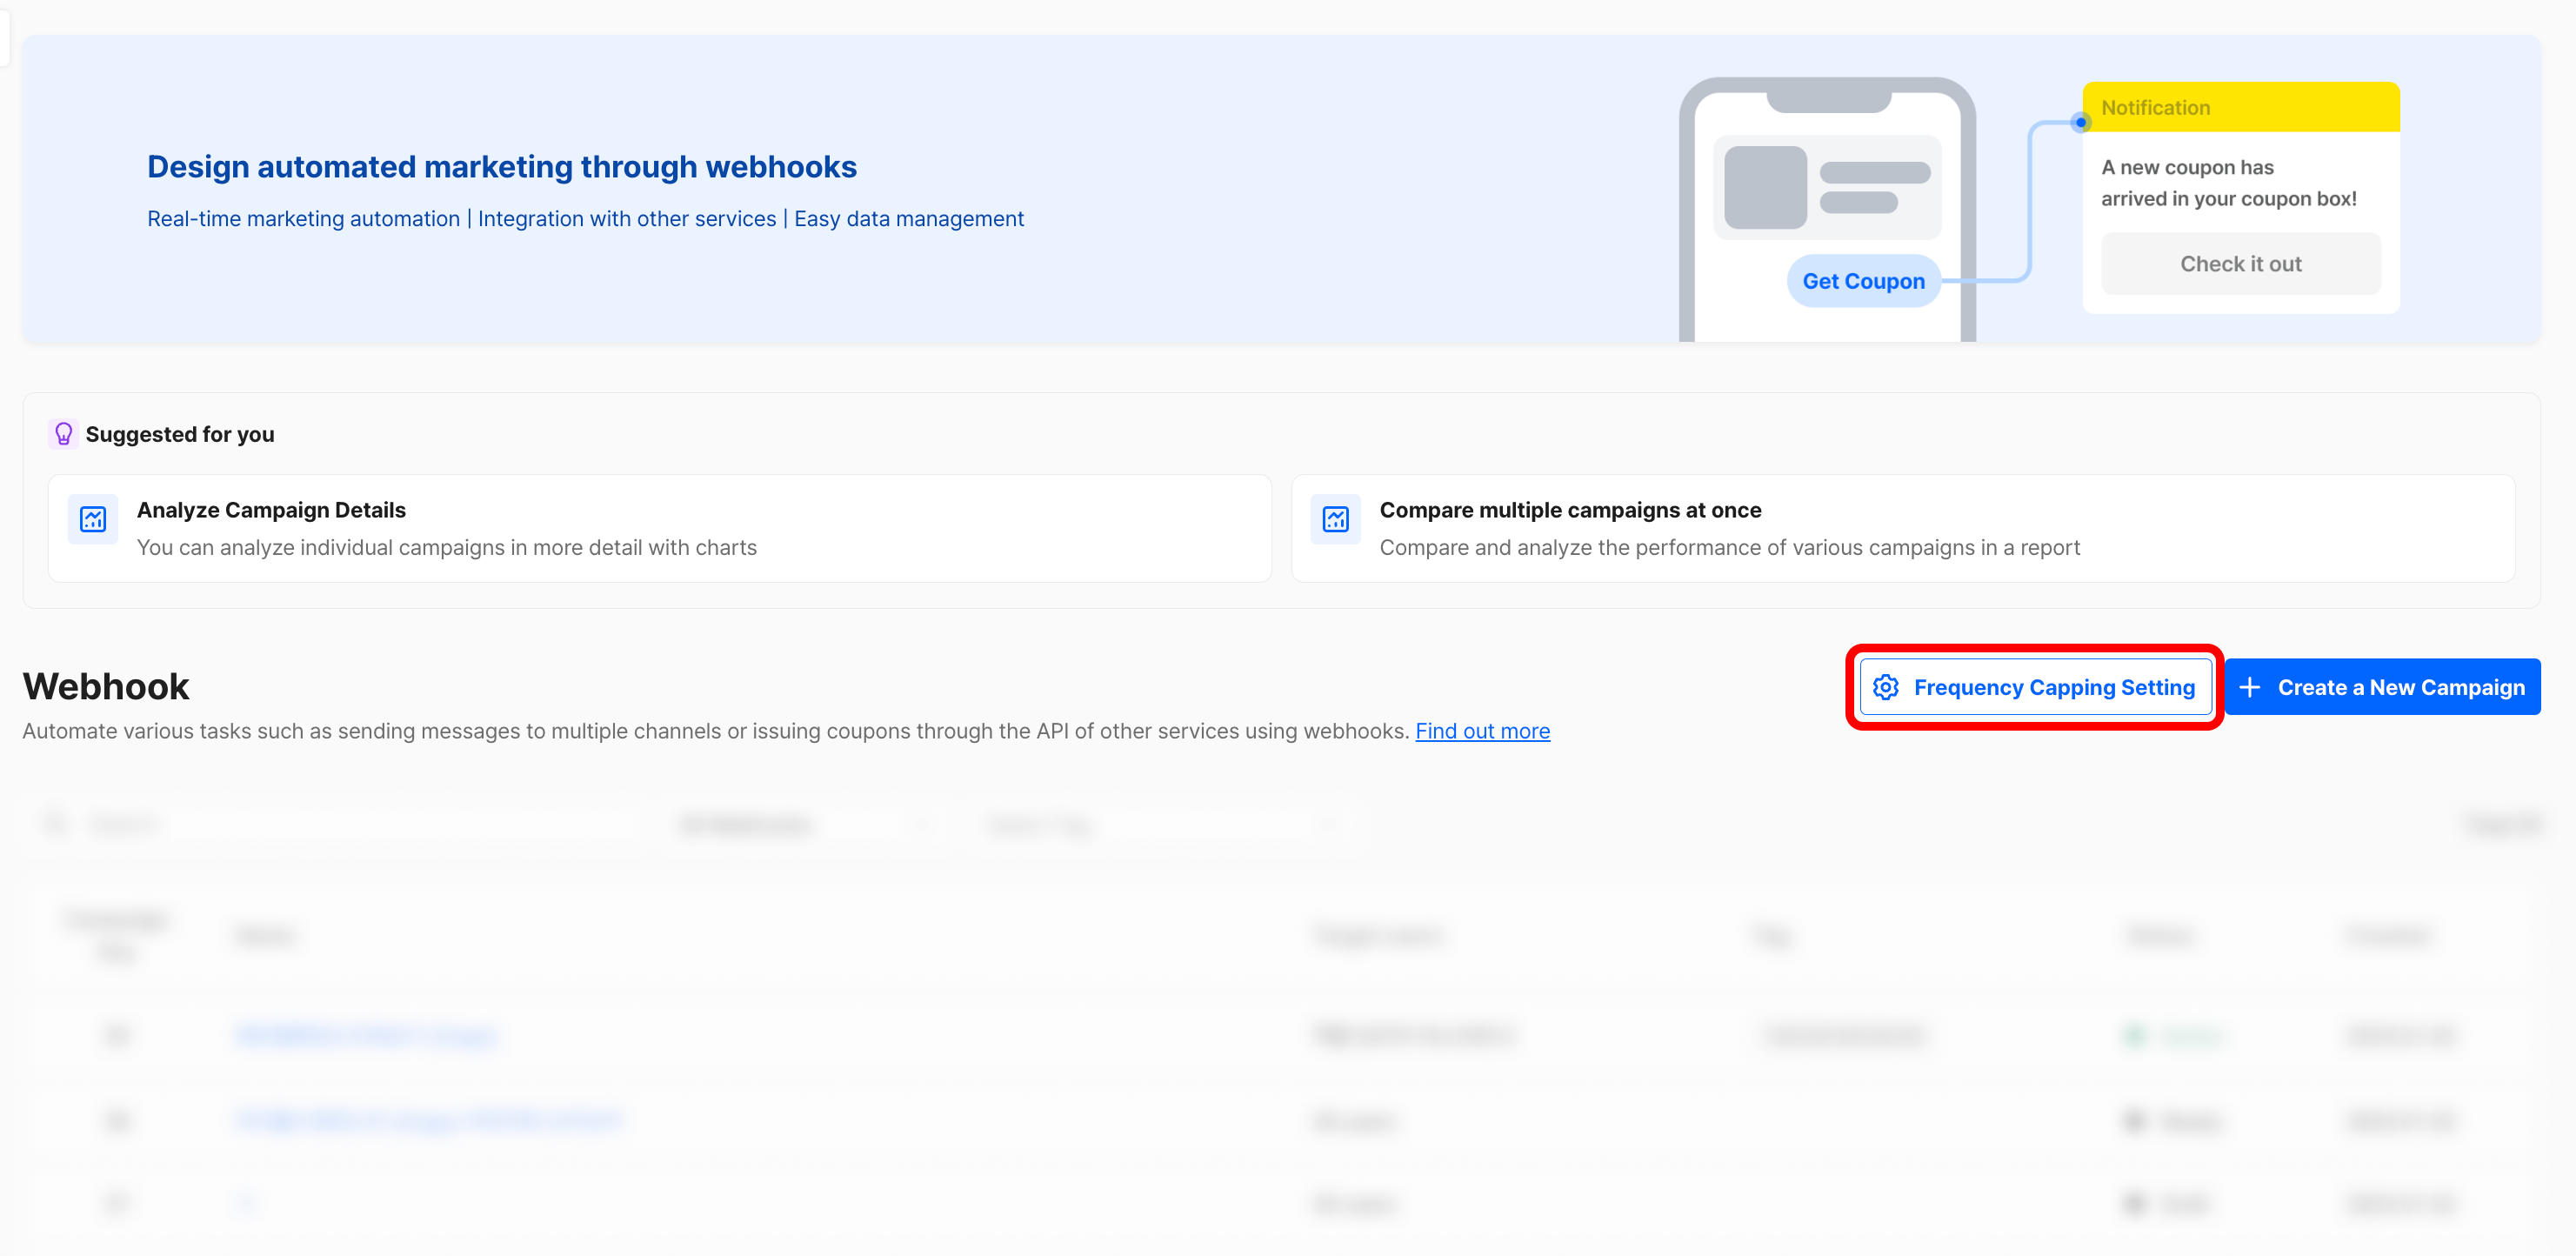
- The frequency limit can be configured at the workspace level, and you can choose whether to apply this limit on a per-message basis.
- You can set these limit values in the Push Settings section on the Push Messages page within the Hackle dashboard.
- For more details, please refer to the Frequency capping rules.
Retrying on Request Failure
When an API request fails, the decision to retry the request depends on the response. The detailed information is as follows:
| Response Code | Detail | Retry Criteria |
|---|---|---|
| 2XX | Success | X |
| 30X | Redirected | X |
| 408 | Request Timeout | O |
| 429 | Rate Limited | O |
| 4xx | Client Error | X |
| 5xx | Internal Error | O |
If the request is eligible for retry, it will attempt to retry up to 3 times, using an exponential backoff with a maximum delay of 10 seconds between attempts.
Example Use Case
Refer to the API provided by the vendor to create a webhook campaign. In this case, you can utilize the personalization feature to assign dynamic values.
When using the Bizppurio Message Dispatch API to create a webhook, you can configure it as follows:
URL Configuration
First, enter the appropriate HTTP method and URL according to the Bizppurio Message Dispatch API.

Header Configuration
In the Headers tab, click the Add button and set the following Key and Value pairs:
To dynamically add the token information, such as type and accesstoken, for each target user, we have used the personalization feature.
Key : Authorization
Value: {{user_properties.authorization_type}} {{user_properties.access_token}}
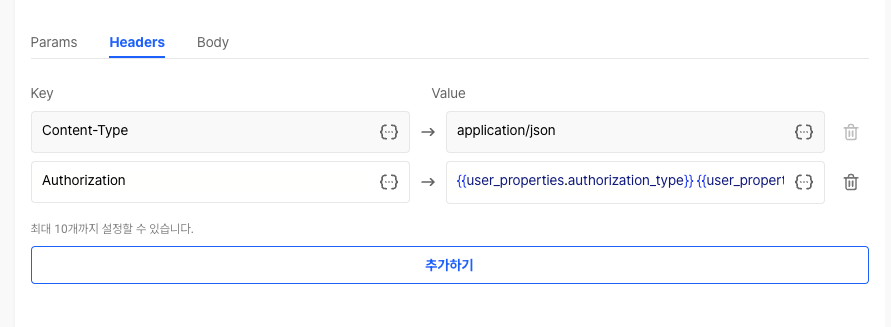
Utilizing PersonalizationJust like creating personalized messages by clicking {…}, you can use the saved user and event properties to dynamically inject values like user-specific token information, as shown in the example above, when setting up the webhook message for the campaign.
Body Configuration
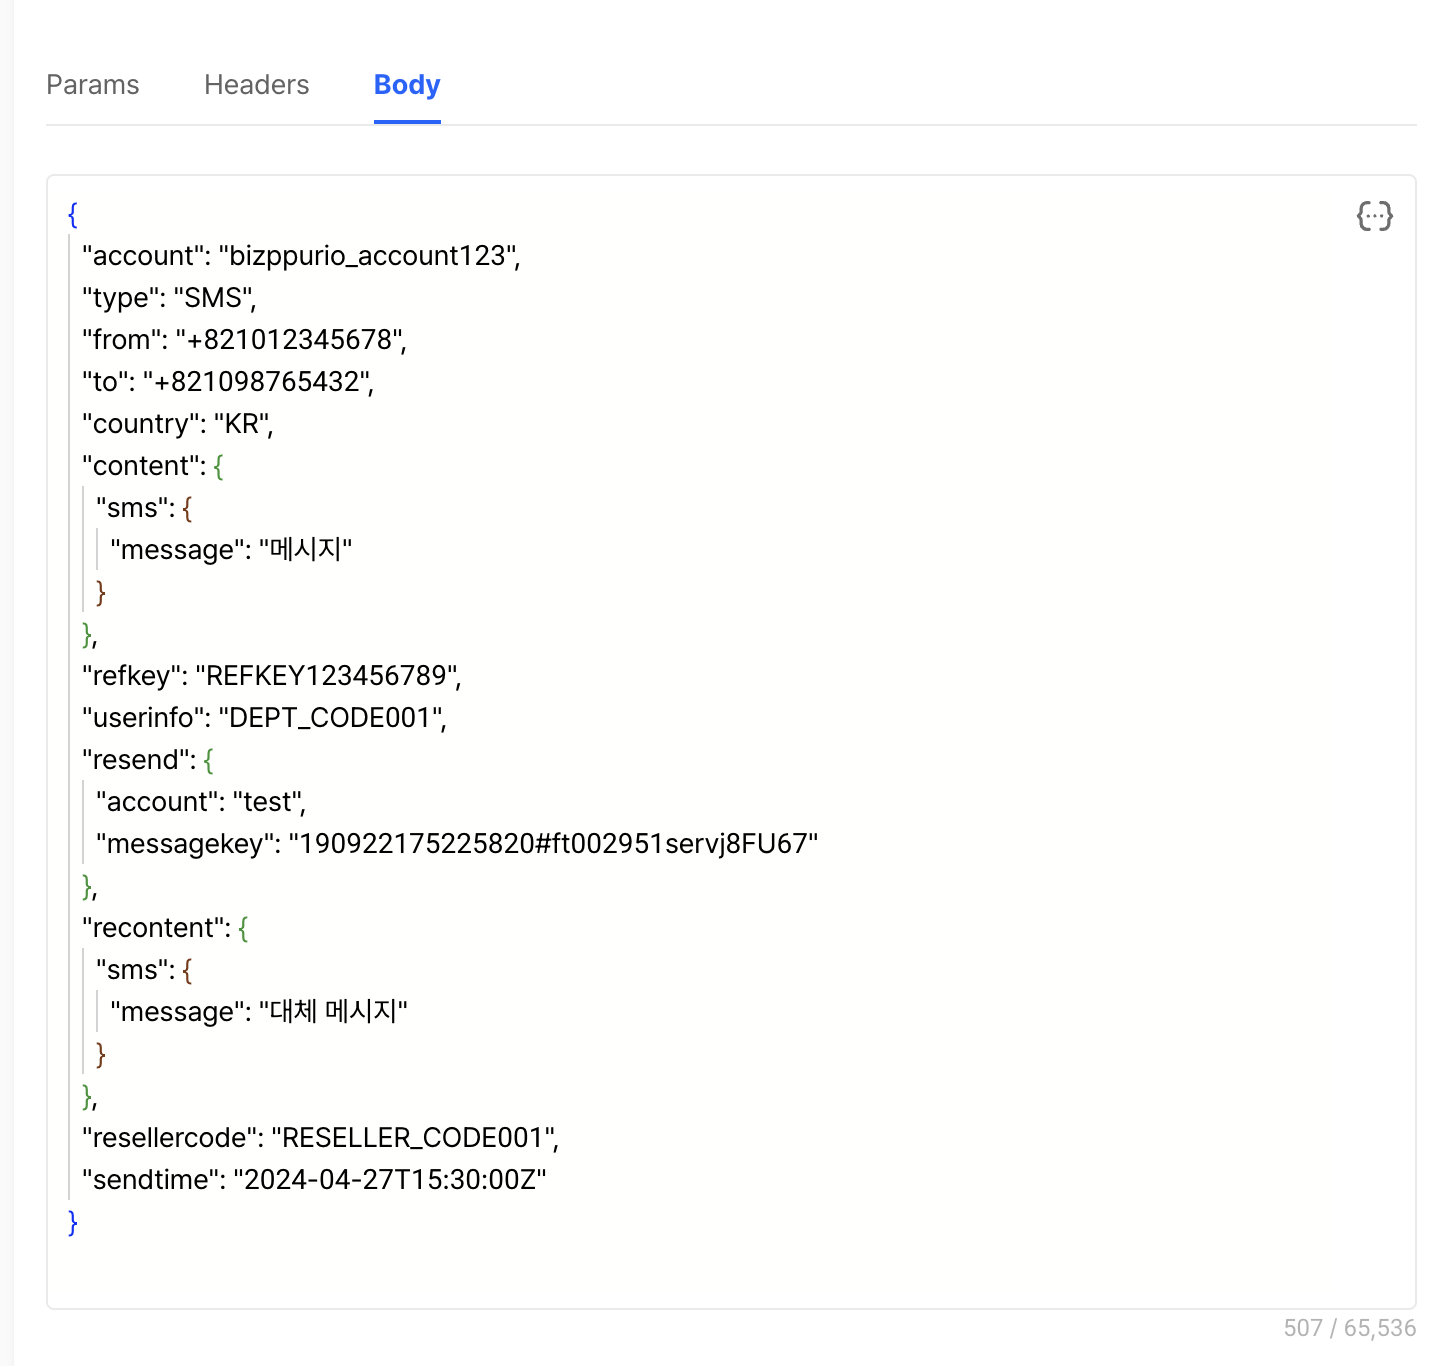
Click the Body tab and write the request body in JSON format as follows:
Target Configuration
Set the cohort that will be the recipient of the webhook delivery.
Summary
Now, save the webhook campaign settings. You will be able to review a summary like the one below.
Updated 6 months ago
